Floor-to-ceiling wall-to-wall built-in
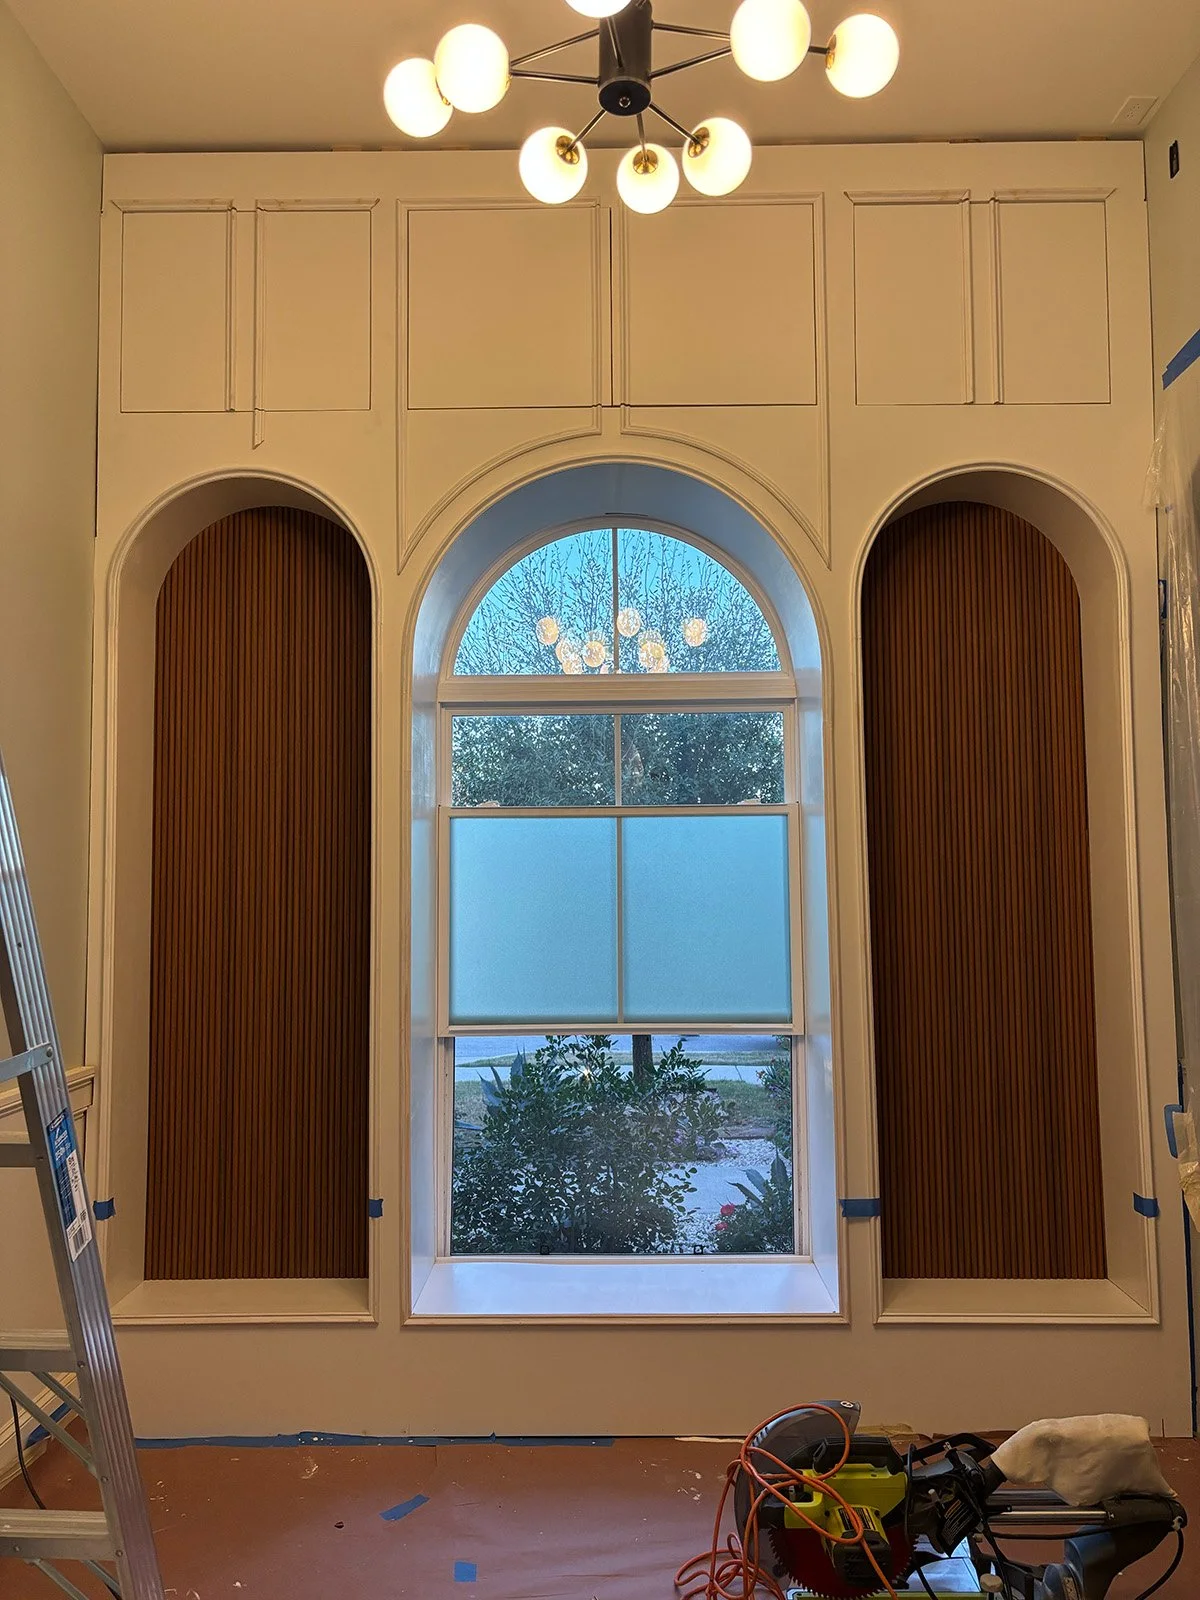
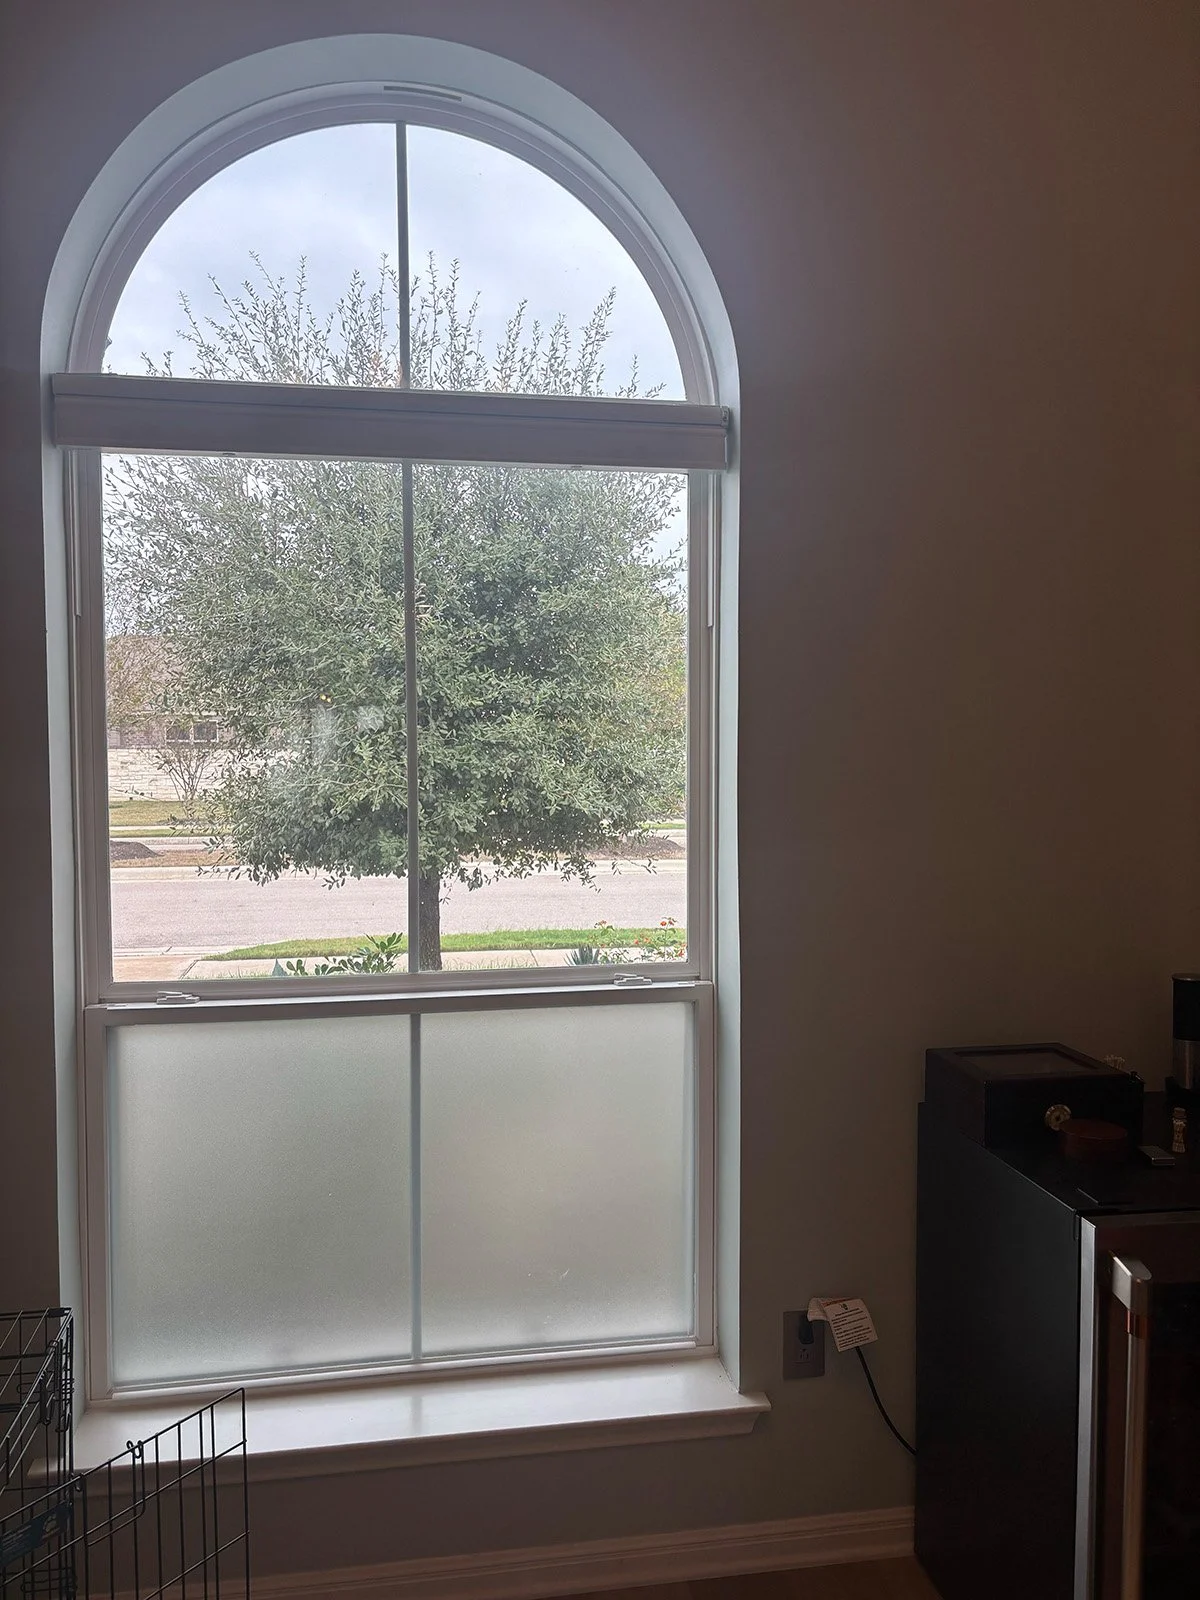
The client came to us with a vision for their sitting area that has a beautiful arched window looking out into the front yard.
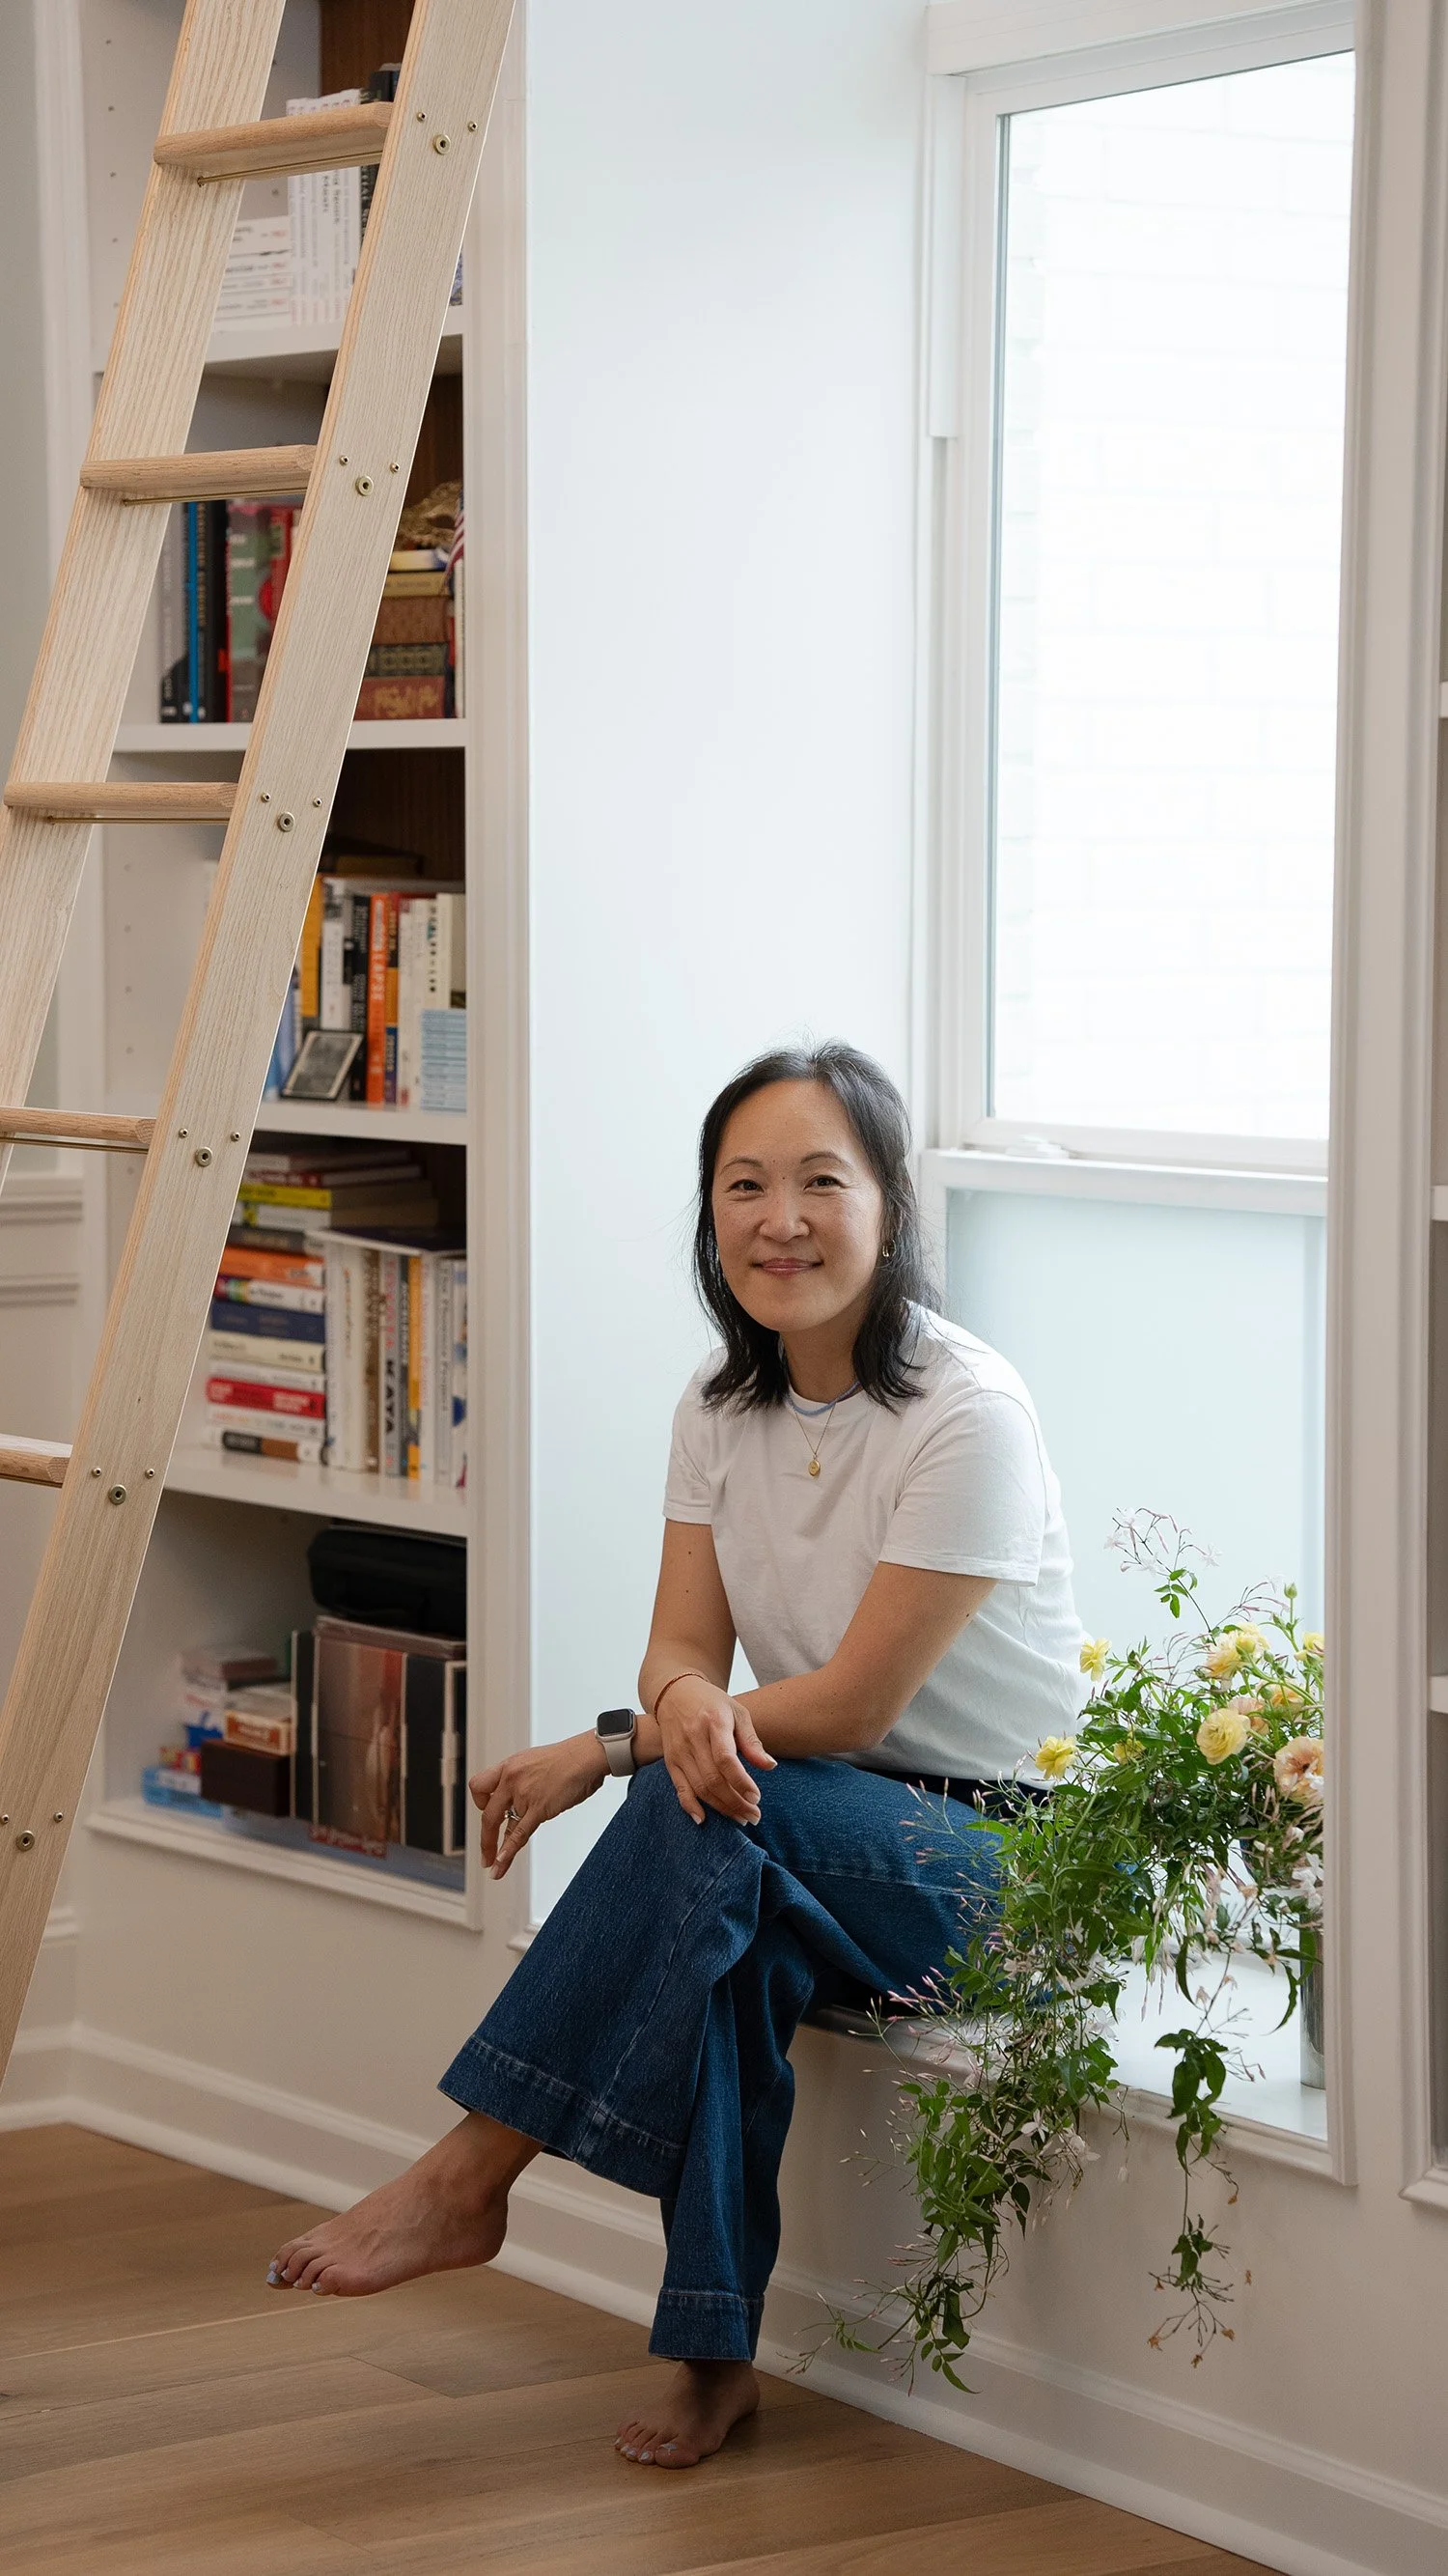
During a site visit and free consultation, the client shared their visions on this room. Emphasizing the existing arched window was a big part of the design considerations and they wanted to start using this front room more like a library and chill room to grab a book and have a coffee or drink in. With 12ft ceilings, this is a grand room.
Before/After

The brief
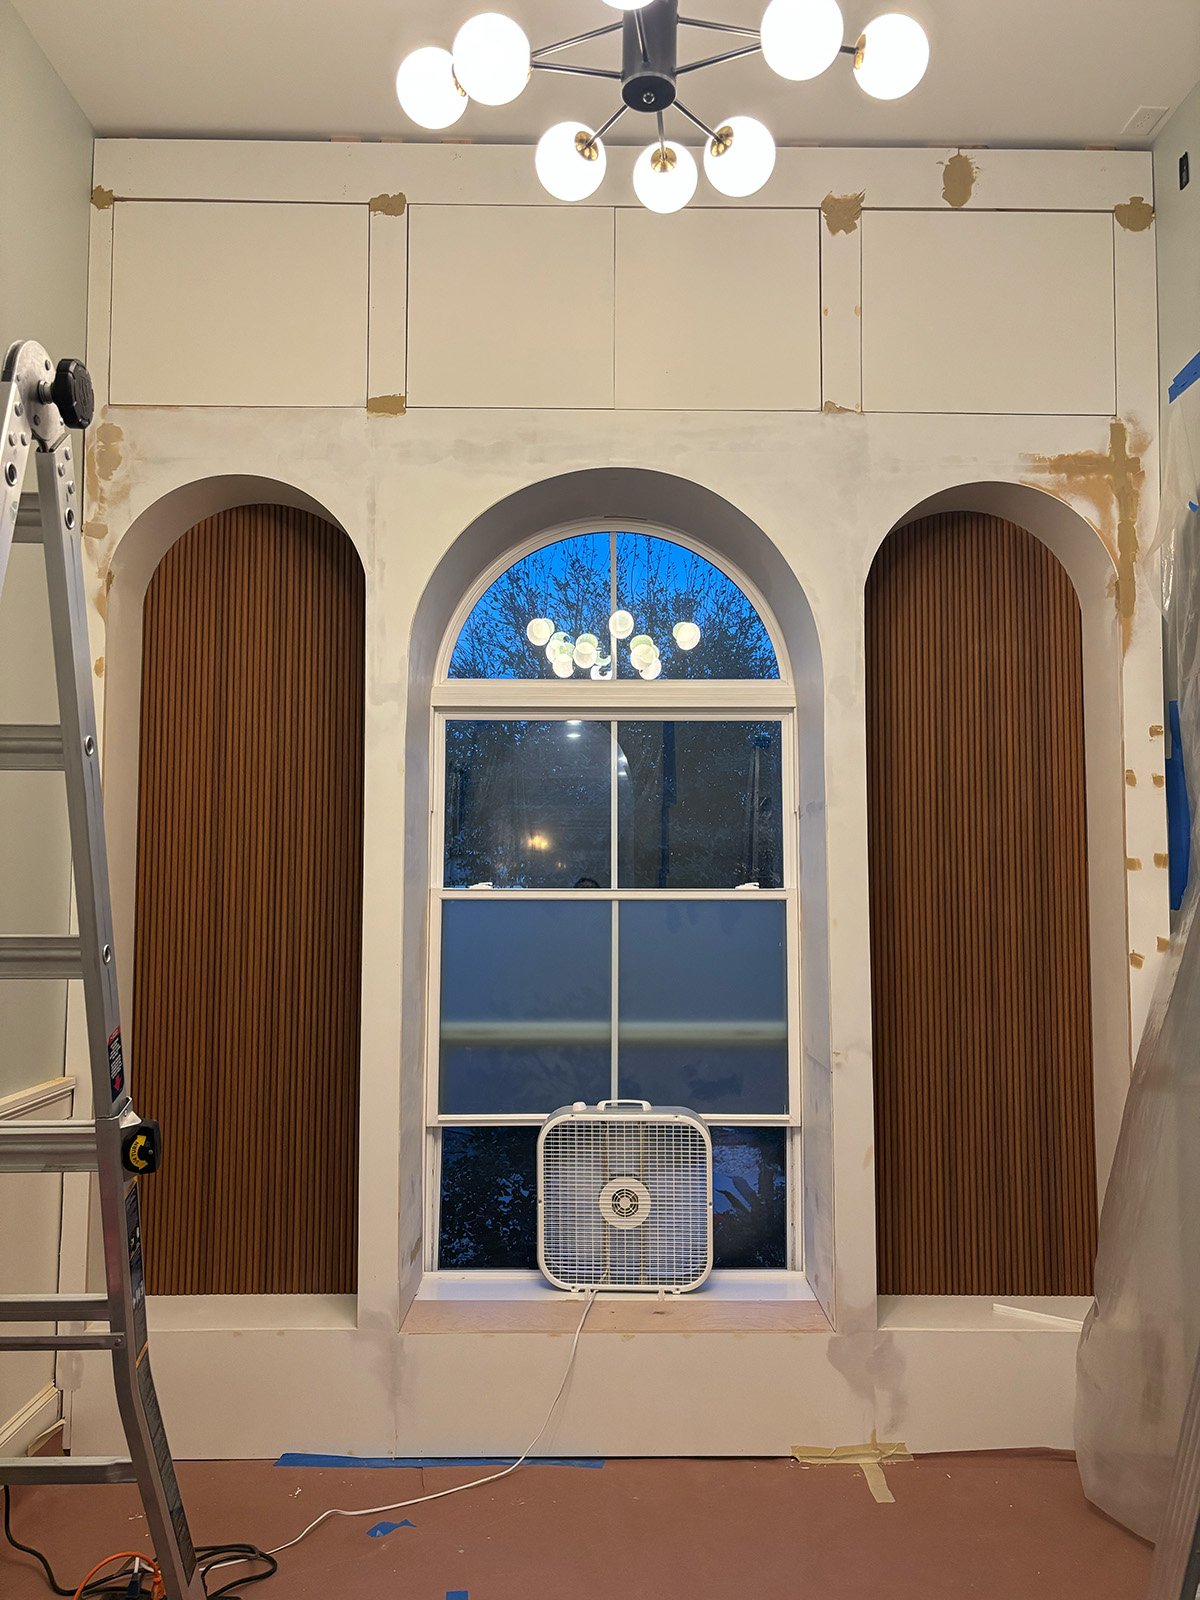
While the room has 12ft high ceilings, it is a fluid and open room with a big arch opening on one side to the main entrance foyer and a walk-through to the kitchen on another side. The client wanted to transform this room from a transit room into a more cozy room. The light comes through in the evening which makes this a great space to relax in at the end of the day. A mix of open/closed storage was important to the client and they also wanted to have space in the room to keep an armchair or small sofa and a beverage fridge. Repeating the arch was a very important design element, along with deepening the window sill.
Before moving deeper into the design, this is the time when I provide an estimate range, which for this project ranged from $13-$20k.
Week 1-6: Design and Details
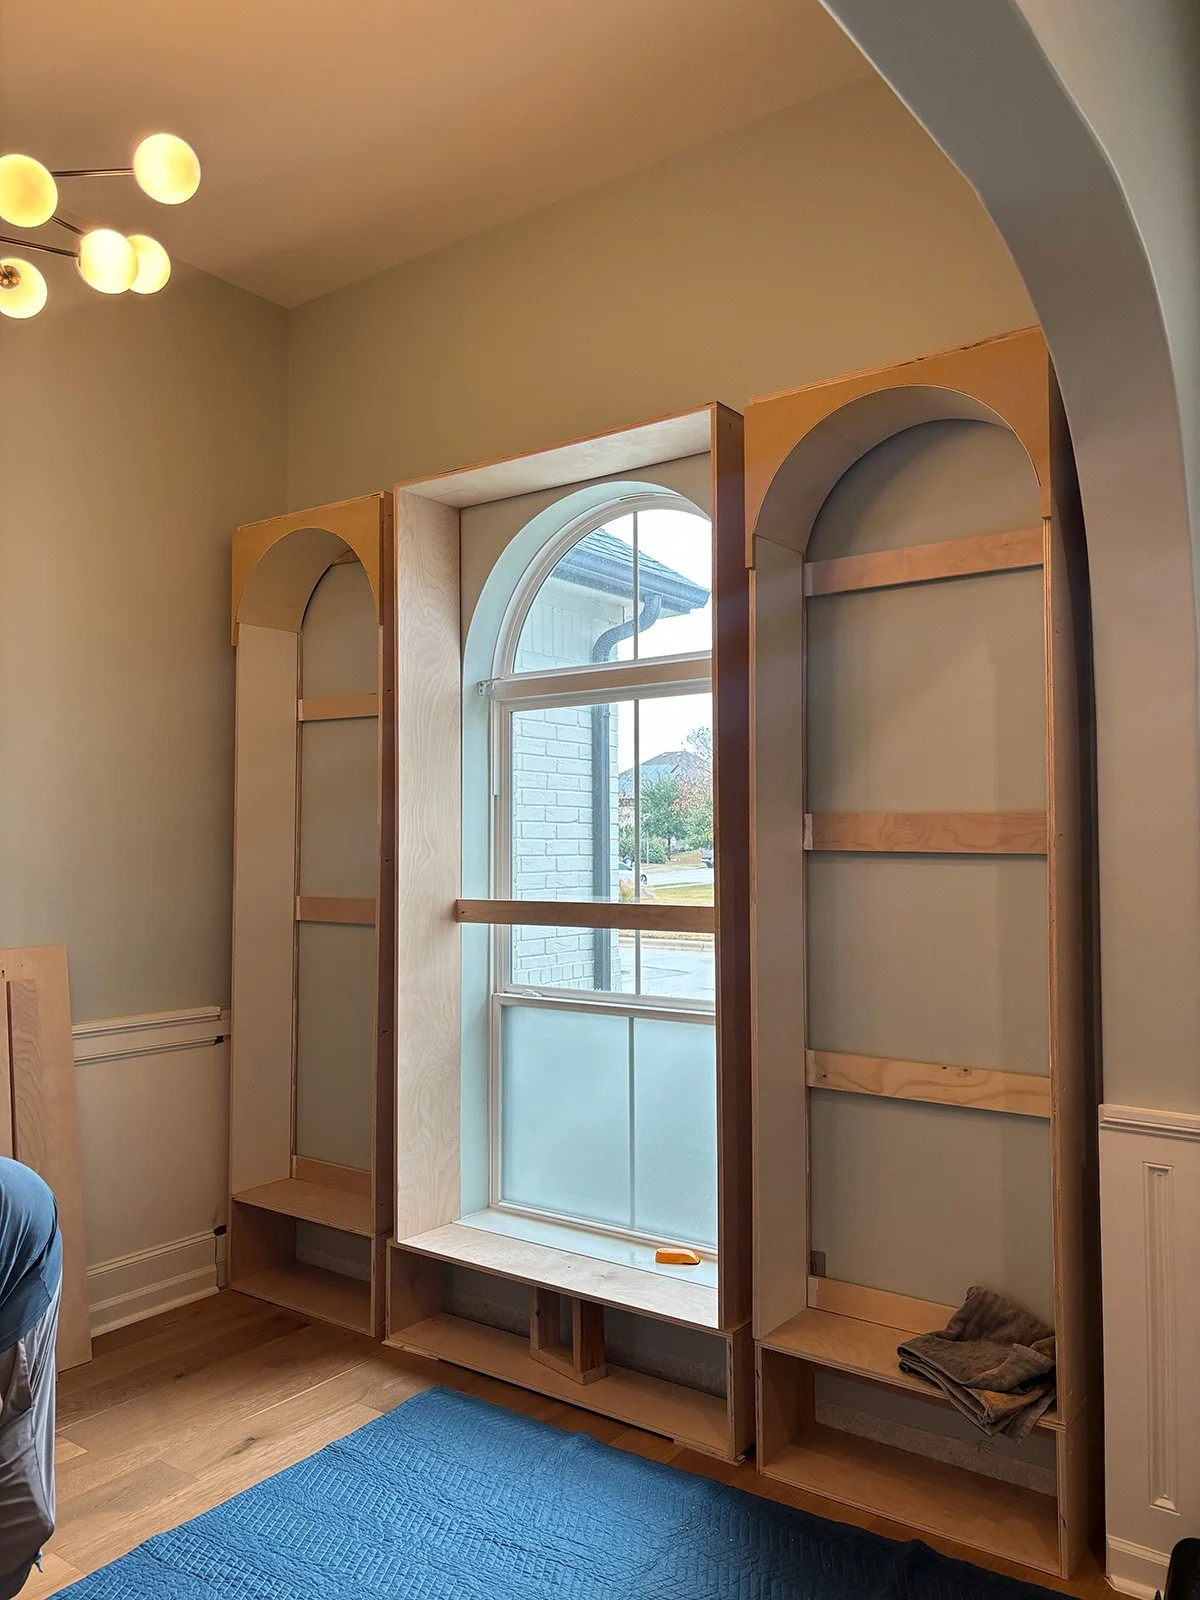
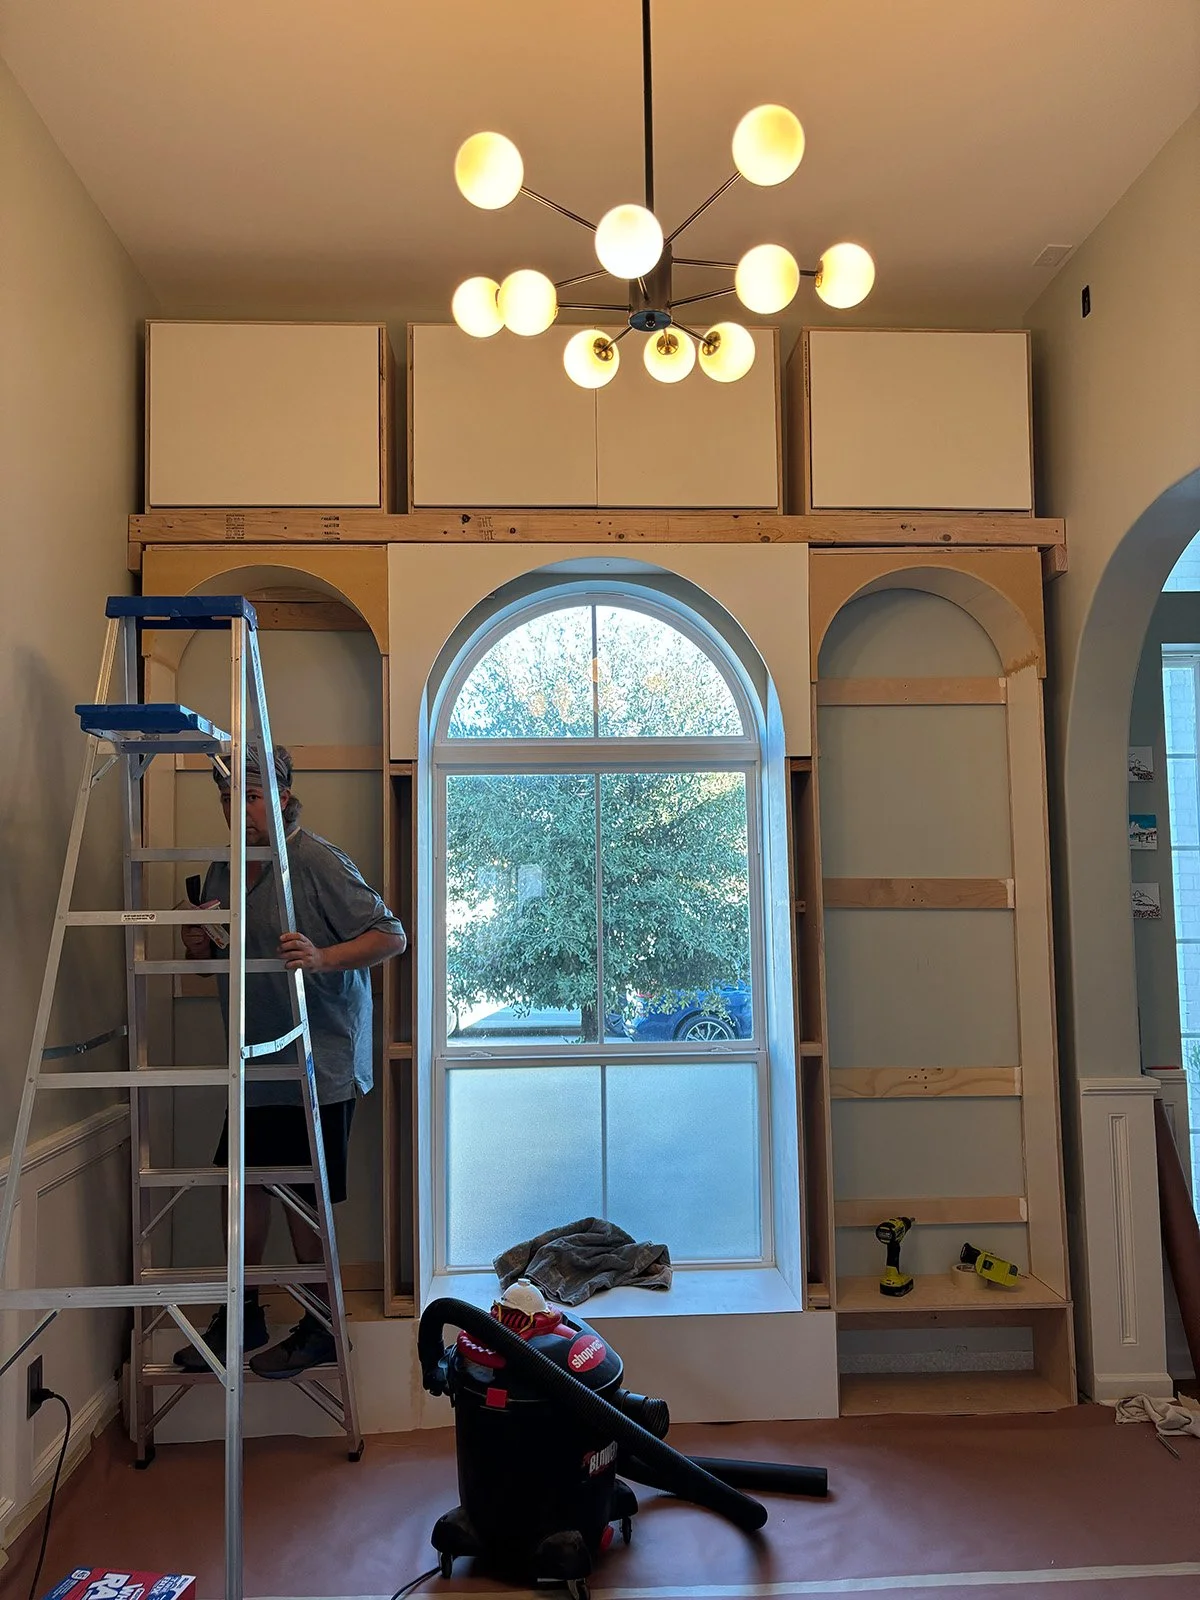
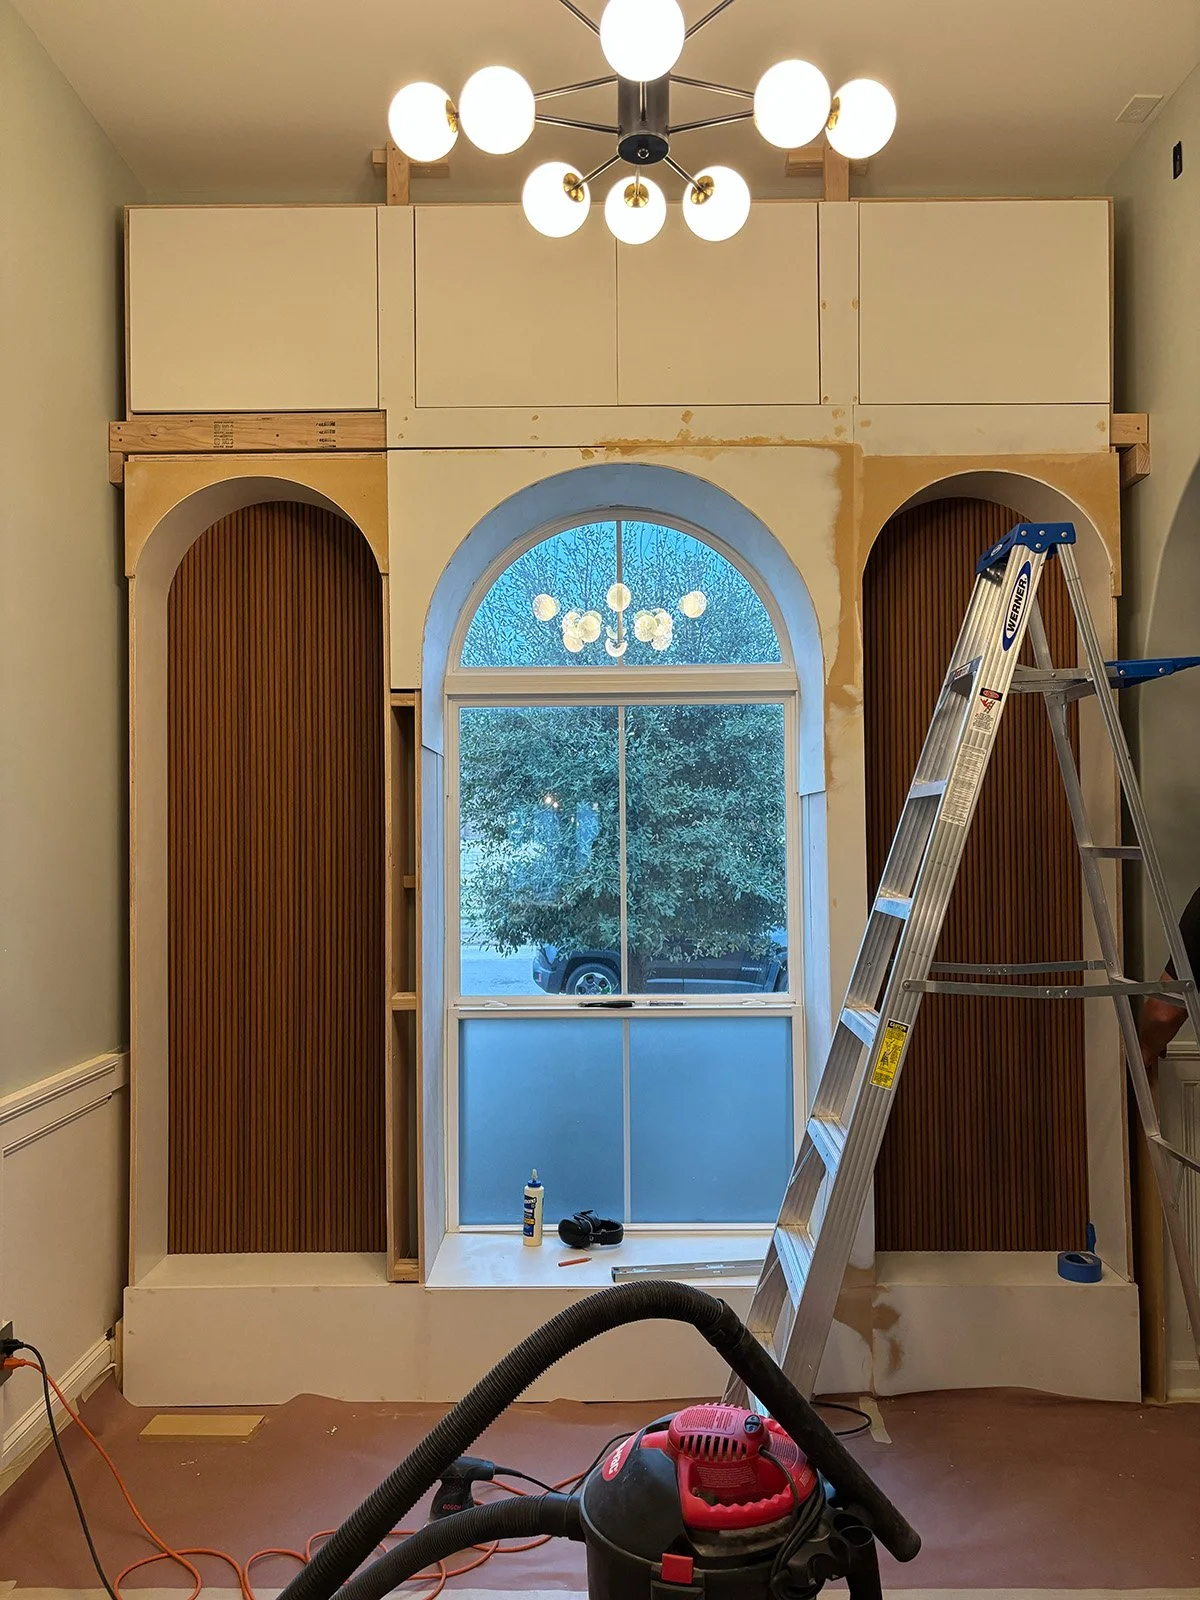
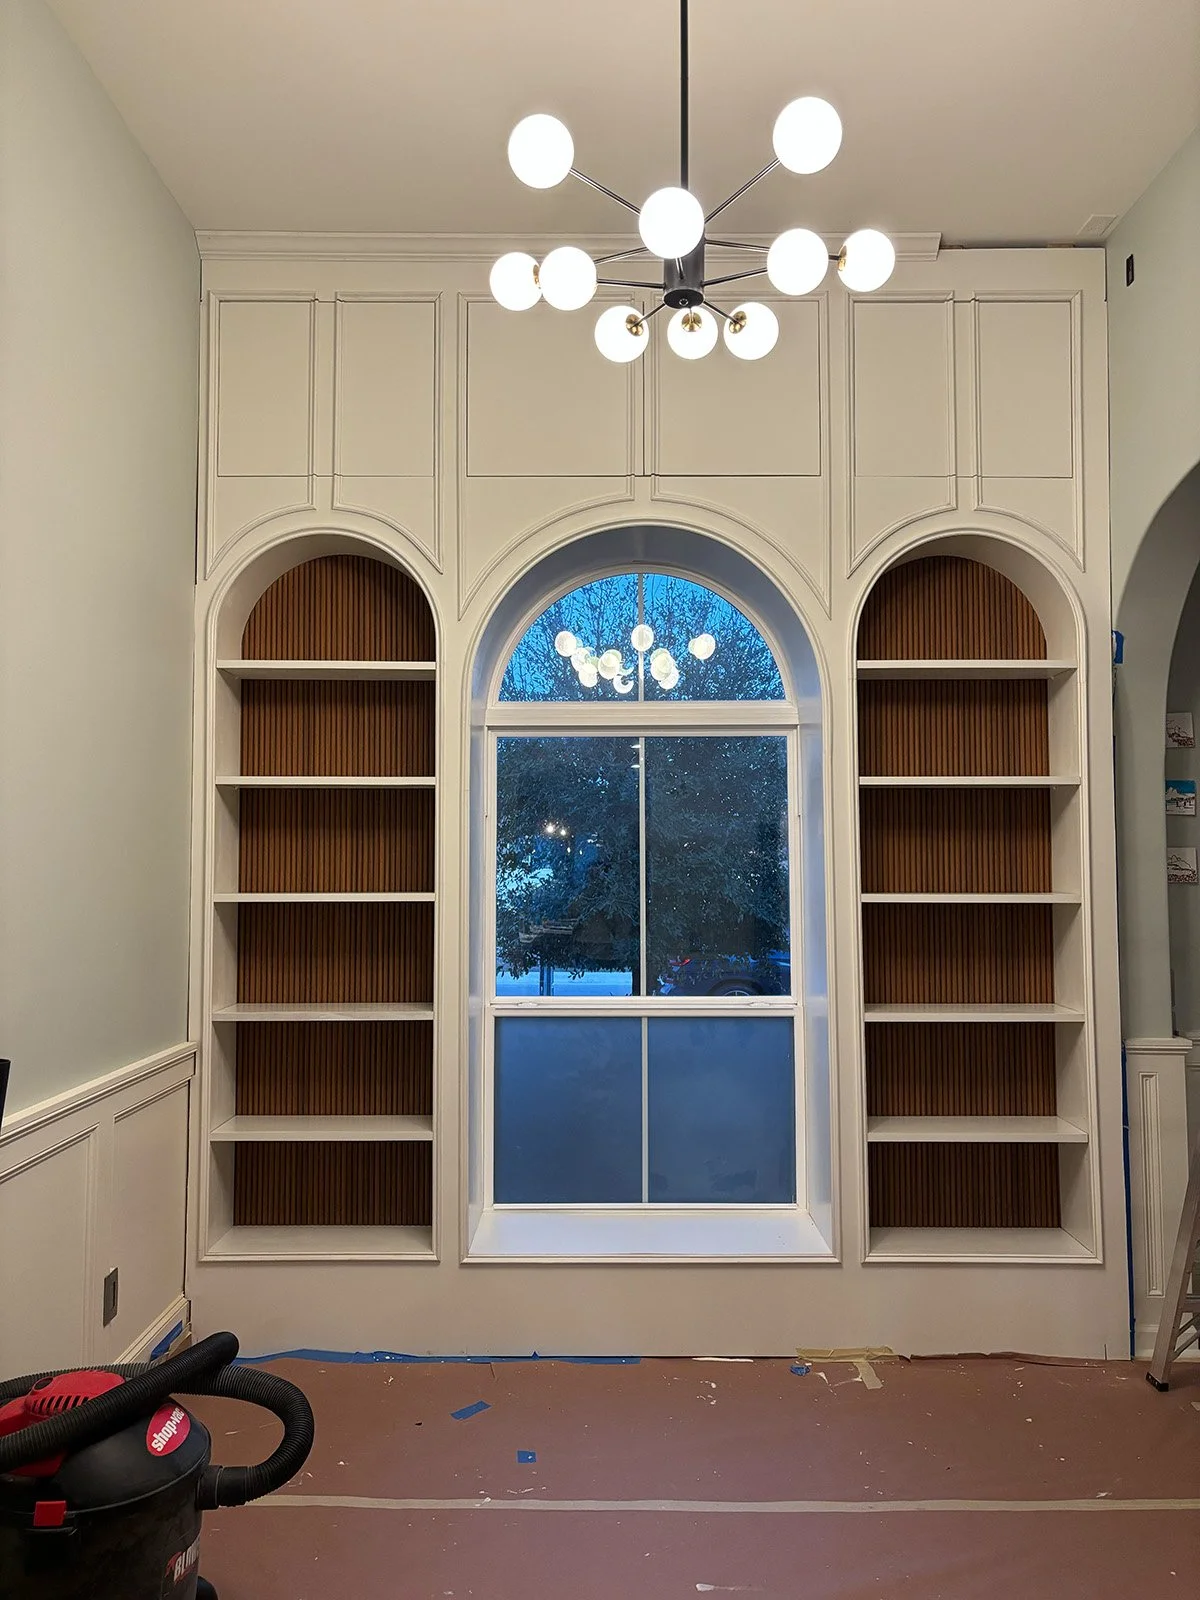
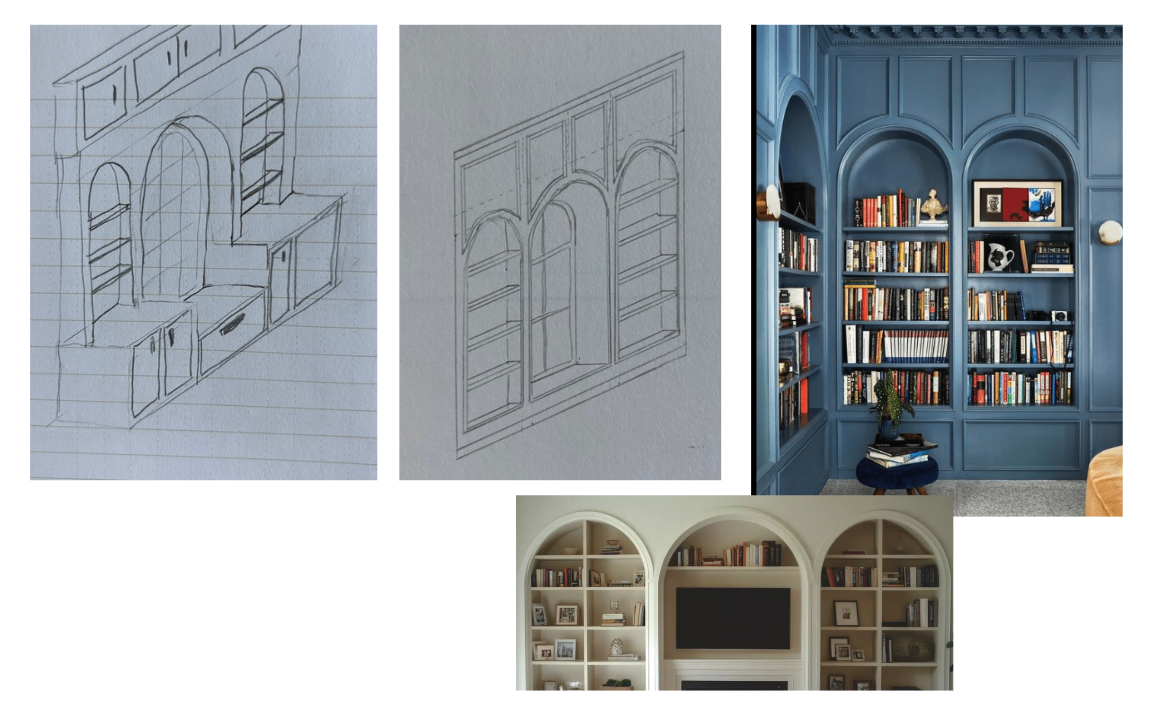
While we first explored options of deeper lower cabinets flanking the arched window, we moved towards using the entire wall floor-to-ceiling for overall shallower storage and used the height for closed storage on the top for lesser used items. That way, there was more floor space available to navigate and we didn’t have to cut into the big arched opening on to the main entrance. Two arched storage units would flank the window left and right, and the entire wall would be built out and trimmed out. To bring some more warmth into the room, the arched open shelves would have fluted wood backing.
I provided different options to close-off the arched on the inside vs having the front arched, adding drawers, in-shelf lighting and different levels of trim which all fall within different points within the budget range. This helps the client make some trade-off decisions on what is most important to them. We could then go ahead and decide on the type and shade of fluted wood panels for the back, the type of molding and their position, how many shelves there would be, where exactly to position the ladder and what type of ladder to use. And with that we could finalize the project cost within the original price range.
Week 7-9: Installation
As a large scale project, this took close to a month to finish from the first day of taping off the area and demo-ing to making final touchups on the last day of install.. We taped off the room from the rest of the house to contain the dust and fumes as much as possible. While the outlines of the storage units were built in the workshop, most of the work was done on-site for this project.