Building a custom dry bar / drink station
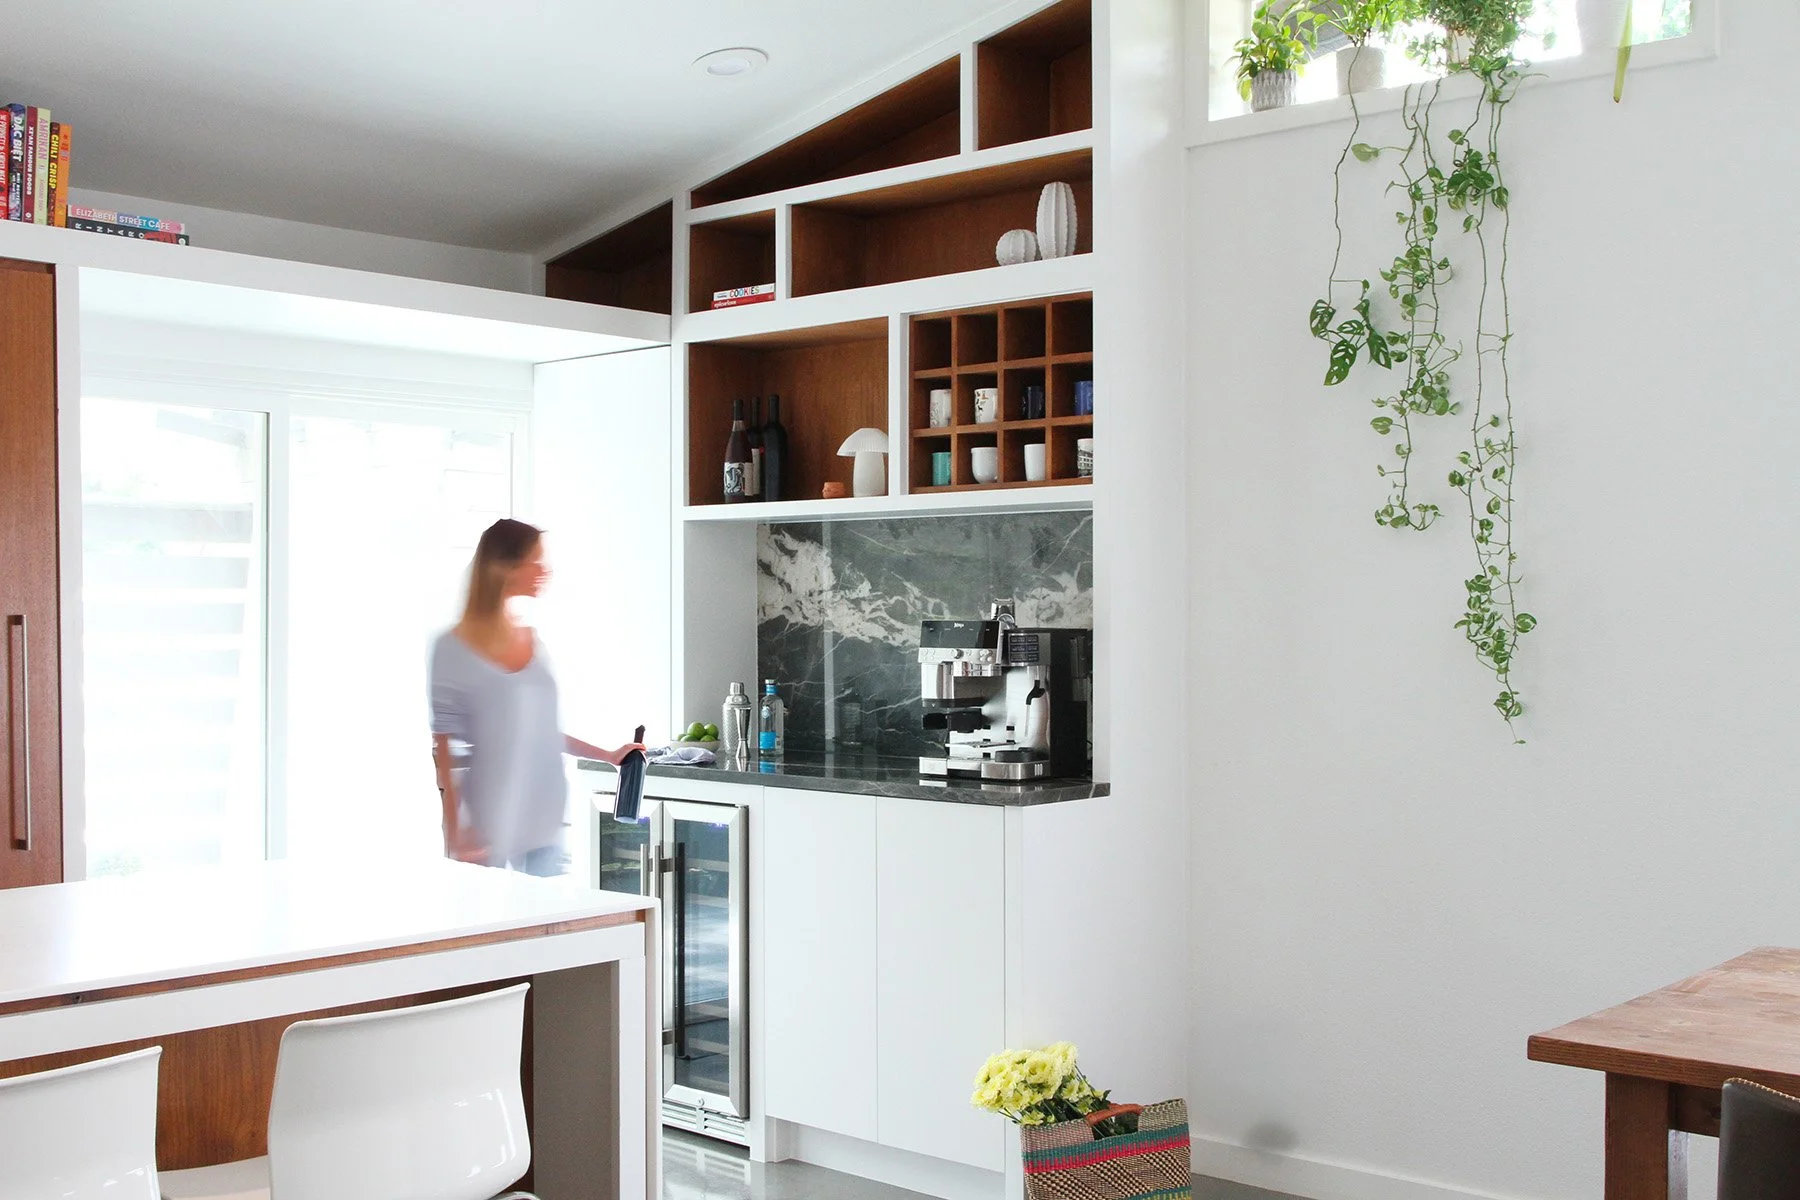
We recently finished this dry bar extension to a MCM kitchen in Travis Heights that doubles as coffee station during the day and a cocktail station to wind down.
After a site visit, we started with a mood board that the client had put together and any other parameters that were important to consider - like the existing kitchen this would fit in with, how much storage was needed, how she wanted to use this space, any outlet considerations and any other dreams and wishes. Maybe a place to highlight her favorite mugs, and definitely shelves high enough that aren’t in the way of easy navigation around the coffee machine.
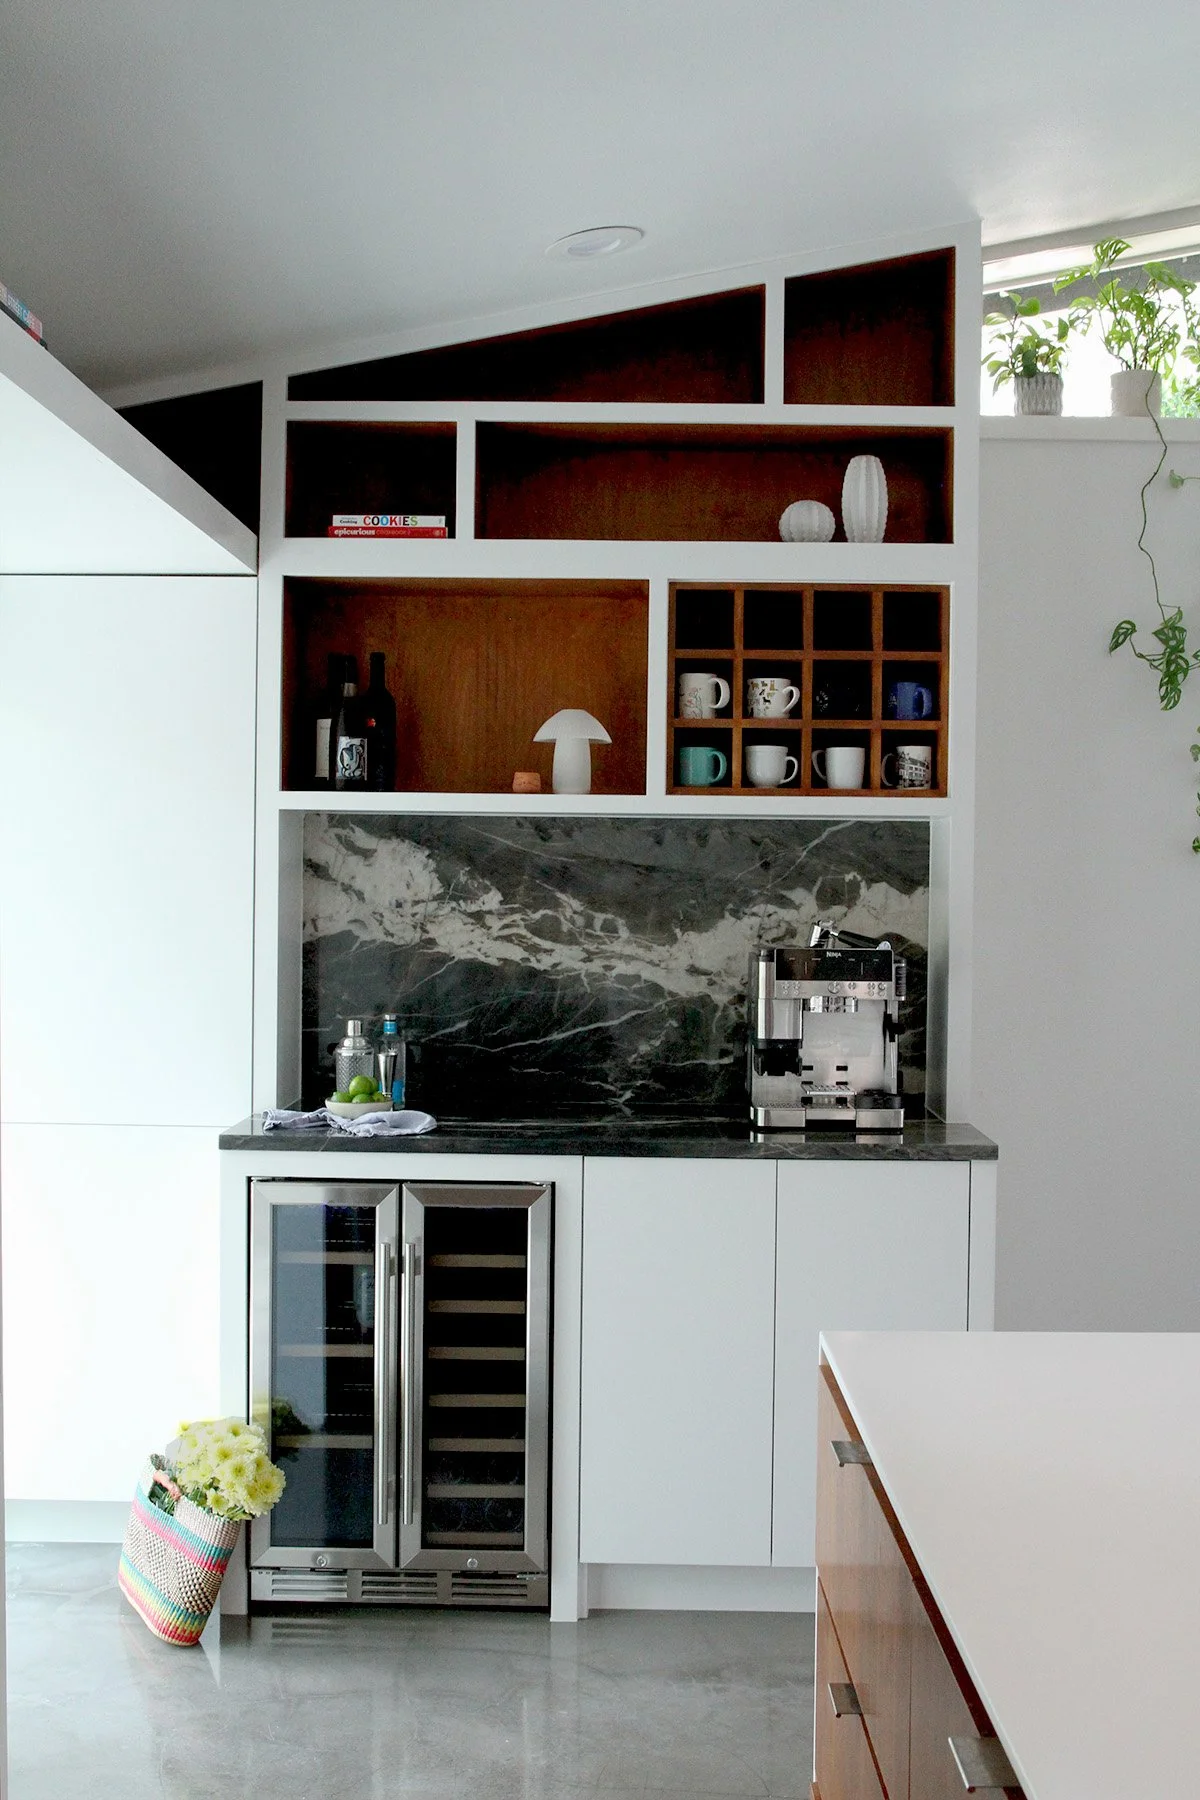
Before/After
Brief
So this was the brief. A key highlight area in the kitchen, something that fits in and in some ways mirrors the existing kitchen but stands on its own. Used as a coffee station during the day, and a bar at night. The client also has a great spirit collection to display. It needs some angling towards the left to accommodate for the sliding glass doors to the back patio, and ideally also leave some room for the water and food bowl for the pup of the house. A mix of open and closed storage that aligns to the existing window on the right and the wall on the left. Modern flat floors, a minimalist look.
Before we move deeper into the design, this is the time when I provide an estimated project range, which for a dry bar like this is $18k-$25k.
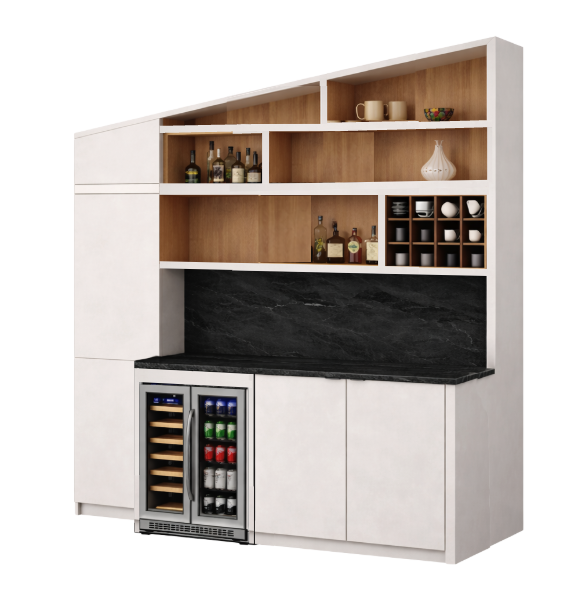
Week 1-4: Design
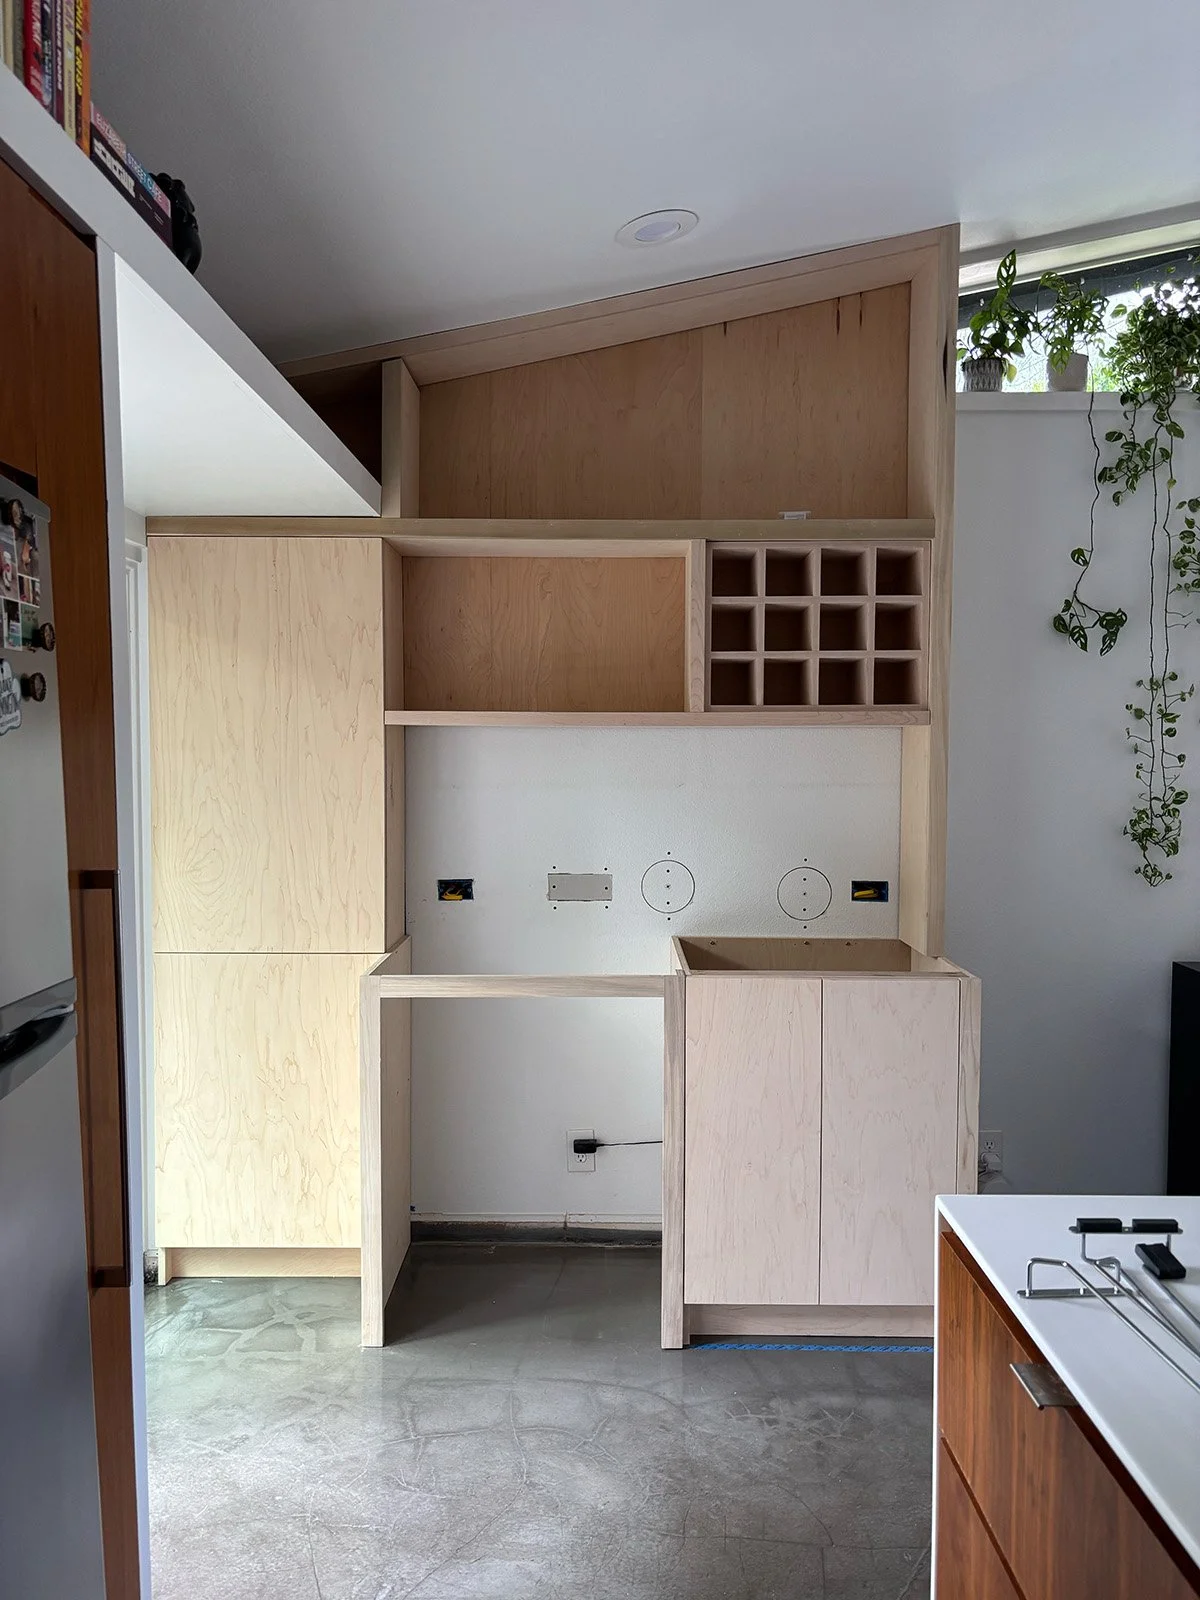
I presented an initial design and over a few weeks we made a few adjustments to the layout and moved from drawing to mockup. We went through a few iterations for the left cabinet including angling it to meet the deeper cabinets. We ultimately decided to keep it as simple as possible with shallow cabinets in line with the upper cubbies. While the rest of the kitchen has wood cabinets in a warm stain, we decided to mirror that wood as best as we can in the open cubbies and paint the cabinets in the same color as the wall for a clean look. One important element was the existing thick shelf on the left, and for the sake of continuity, we pulled that through the cabinet to make it more intentional.
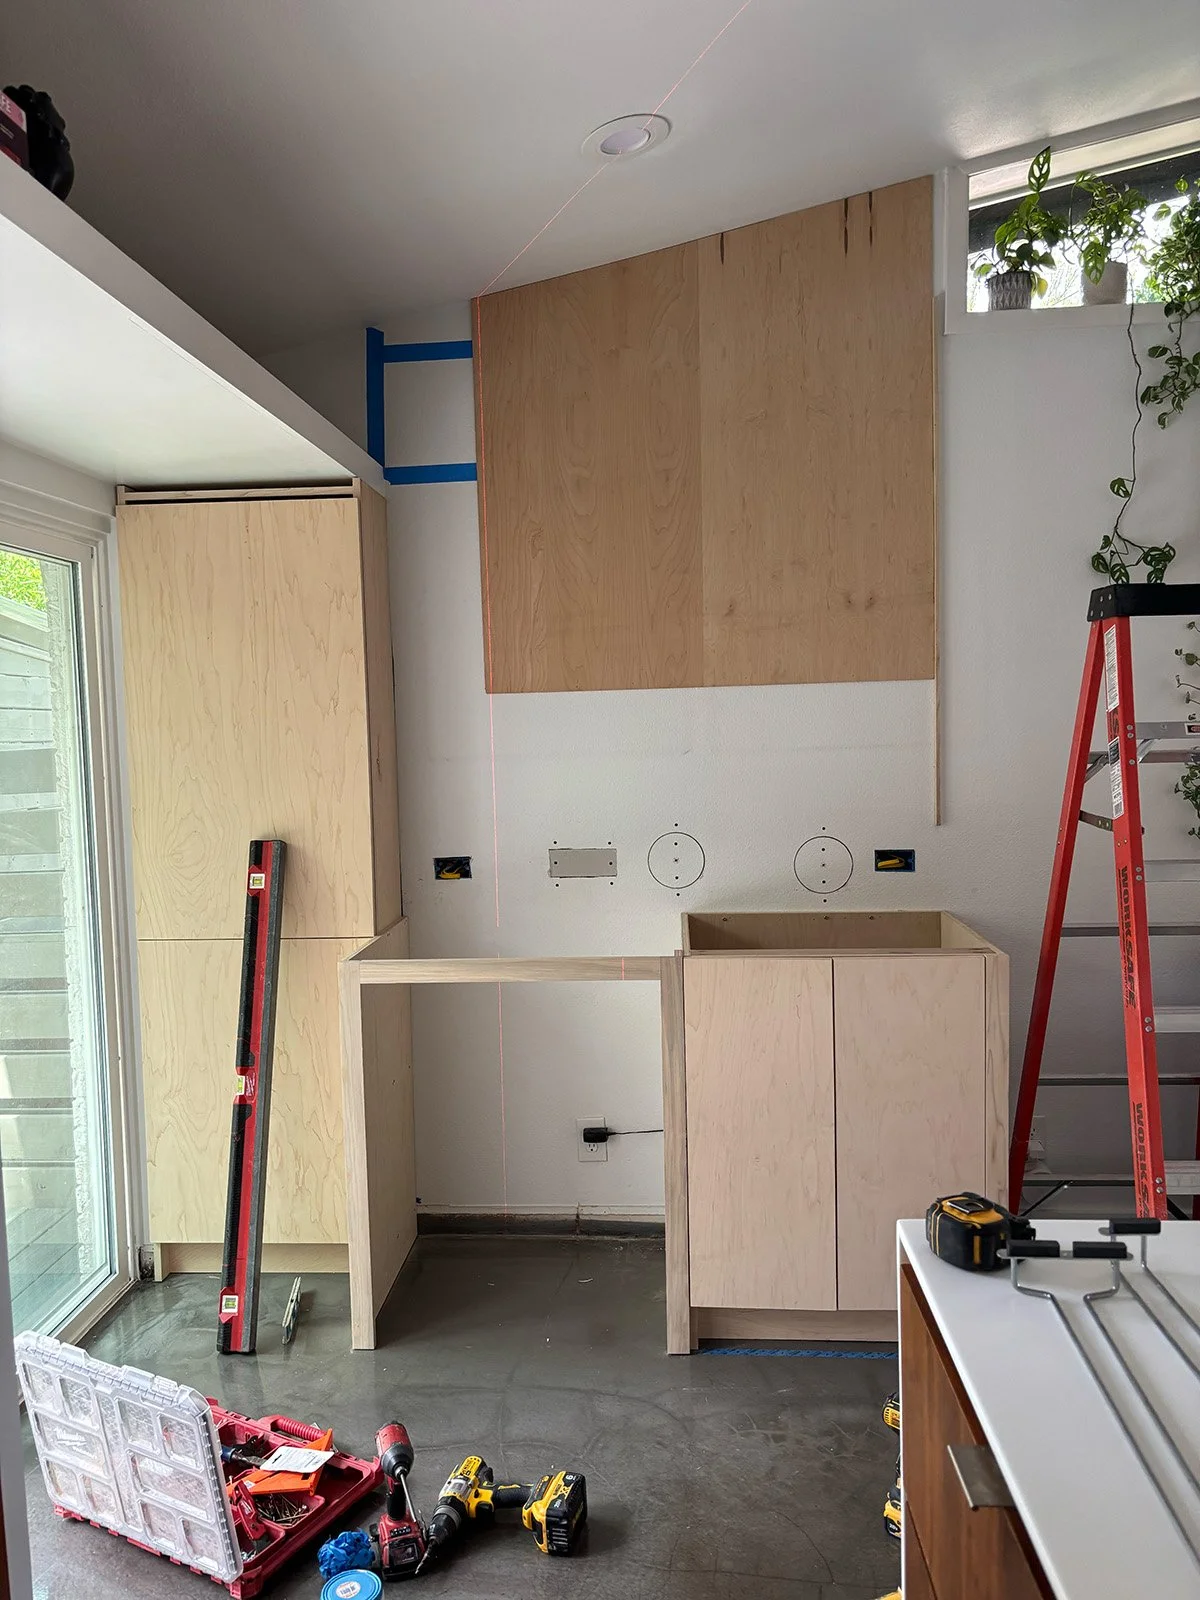
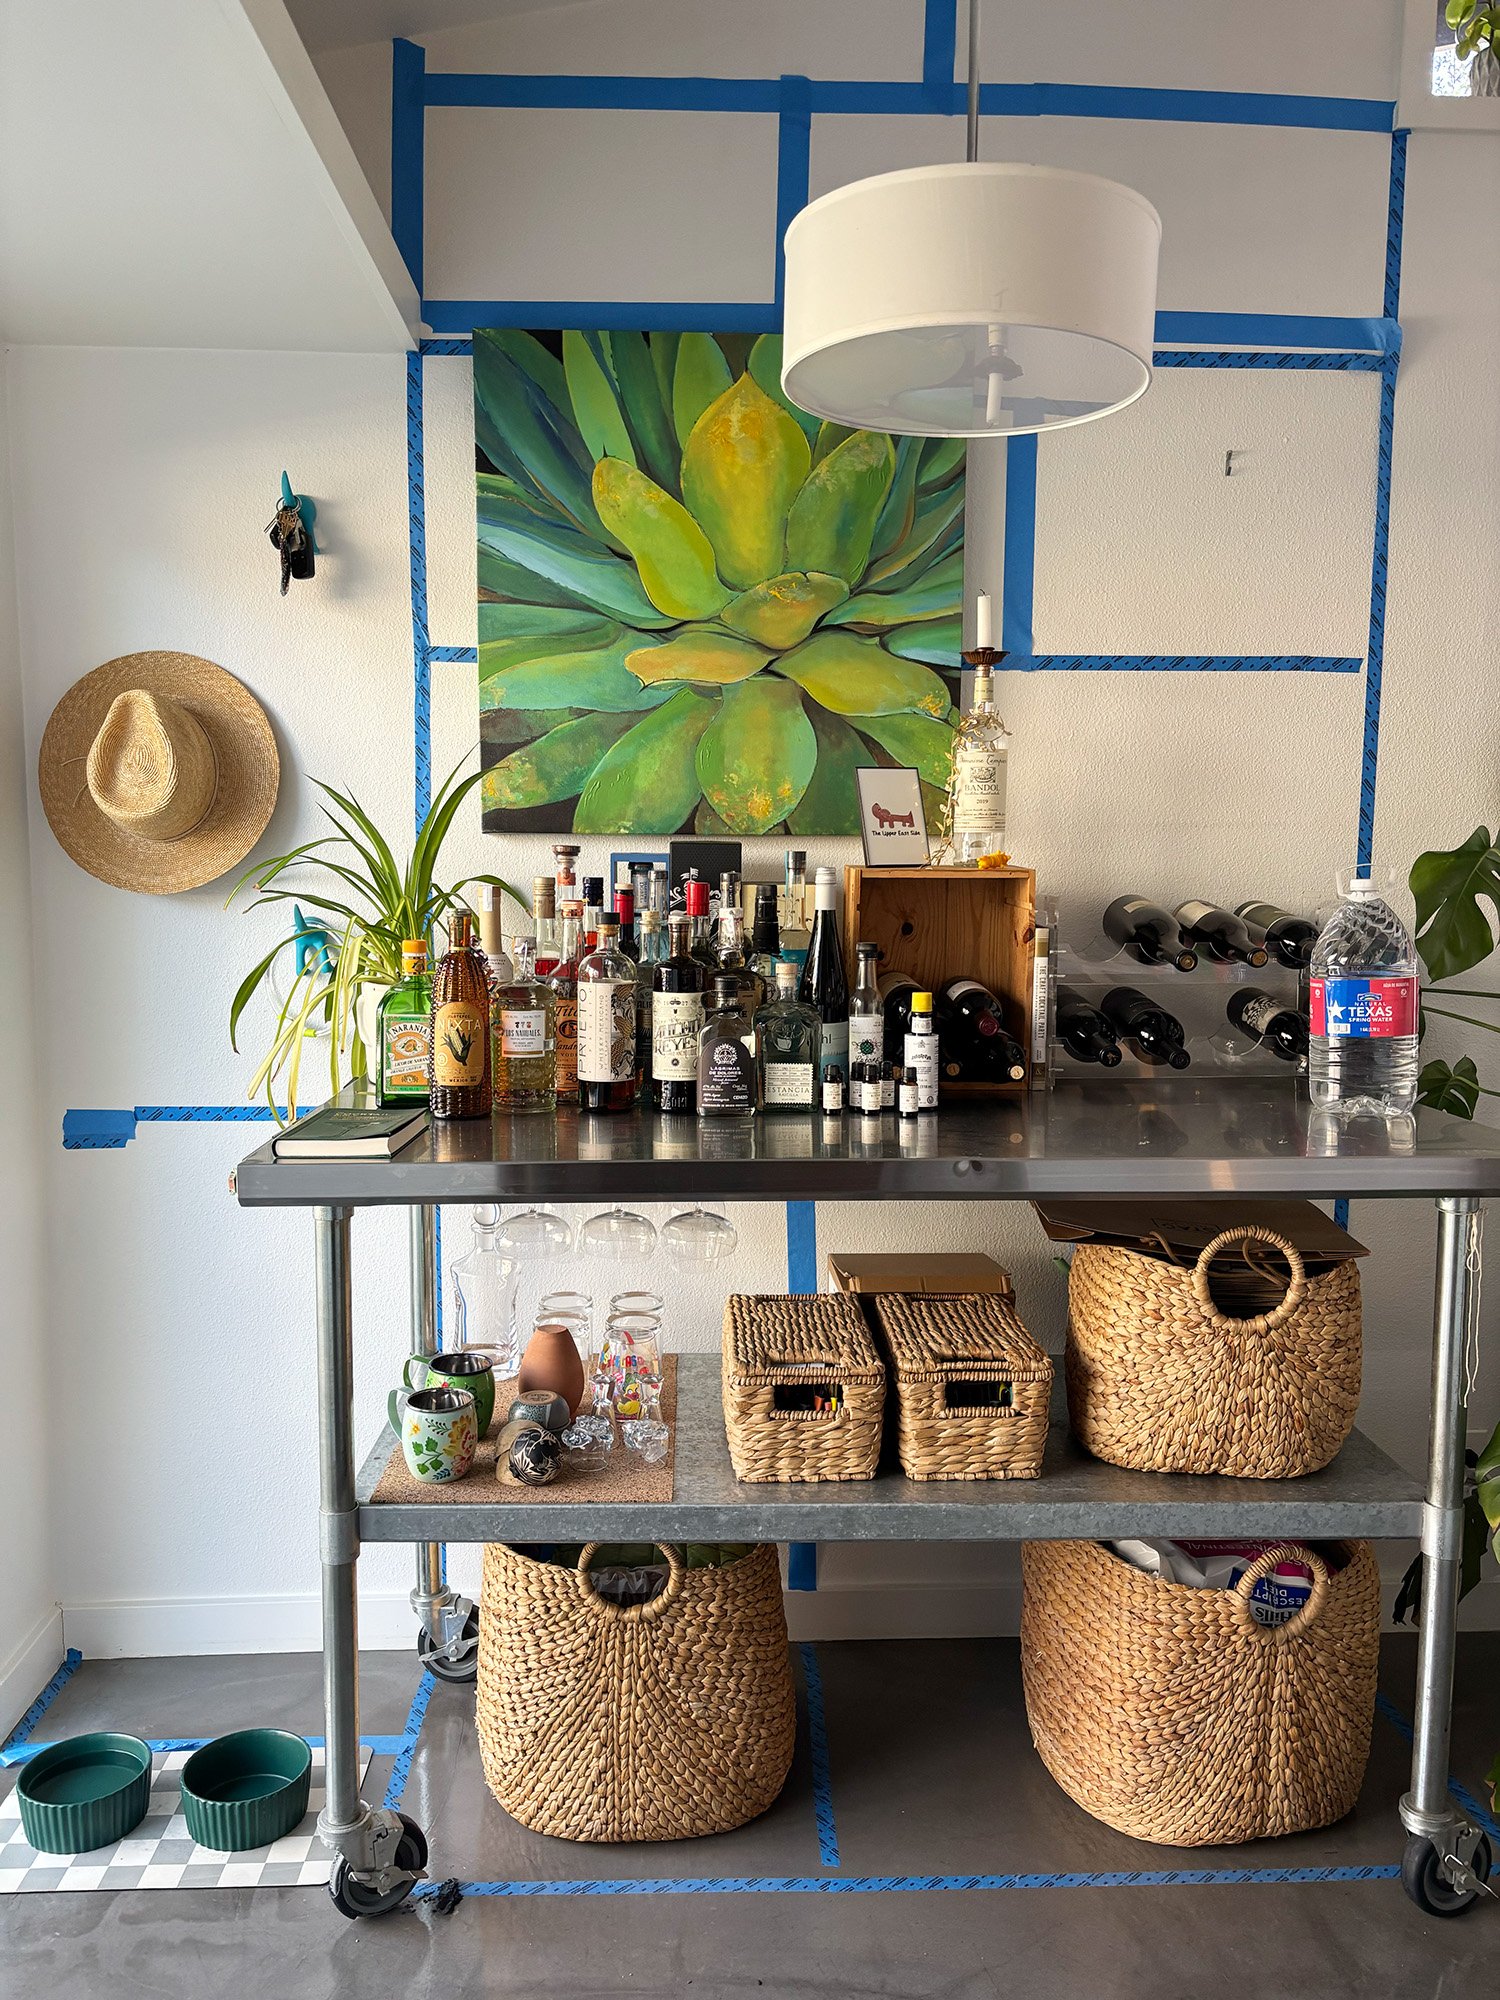
With the dimensions of the design laid out, we taped it all to the wall to see it in real life and confirm that the proportions felt right.
At the end of the design phase, we decided on layout, dimensions and general materials. It also got us to narrow down the budget a little more within the $18-25k window.
Week 4-8: Picking Finishes
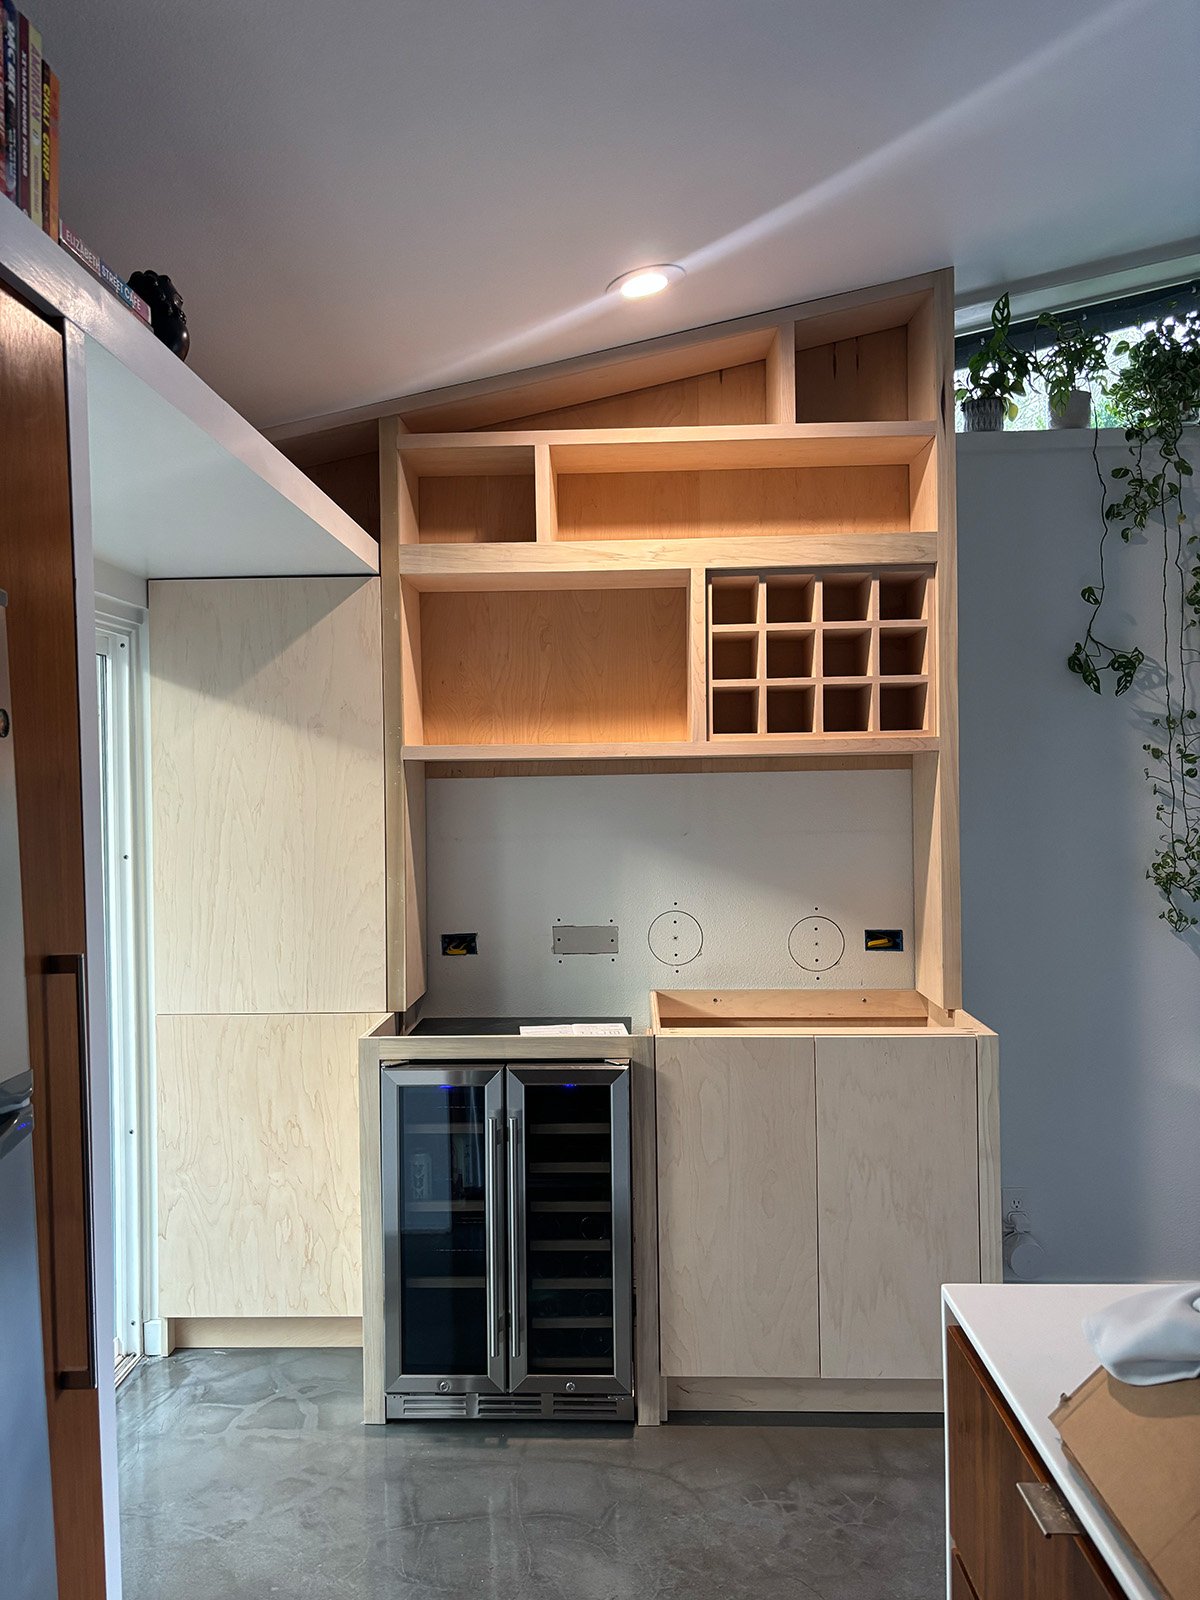
First, I started making custom stain samples to match the existing cabinets as best as possible. We knew it was going to be difficult to 100% match it, and that was part of the reason to stain the inside of the cubbies instead of staining the outside cabinets. Still, we want to get as close as we can. After a few trials and errors, we found the closest option and I made a note for this for later in the process when we were fabricating and installing.
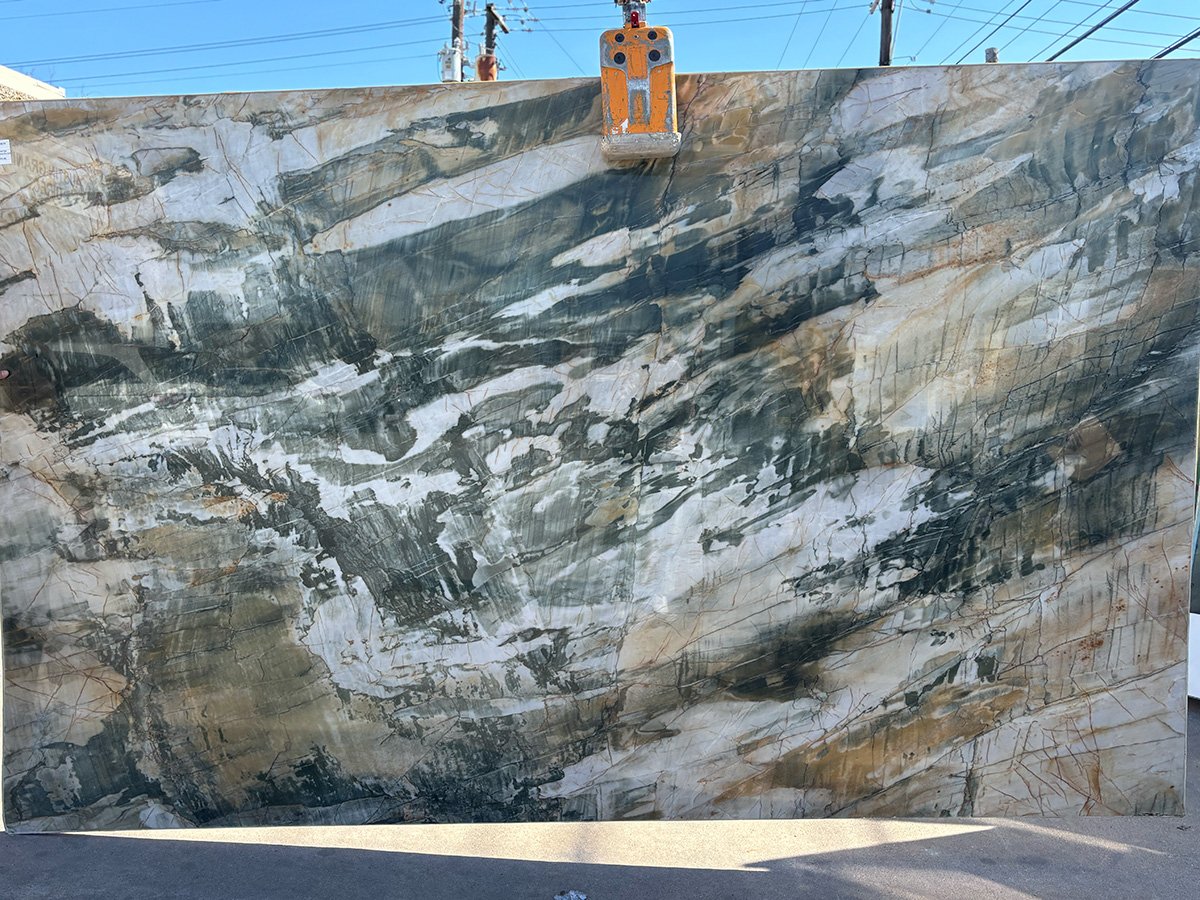
But the biggest decision was the stone! The client had an idea, I had an idea, we played around with both, visited the granite store a few times, mocked up a few version and ultimately decided on a statement piece! There really are two decisions to be made: which slab and what part of the slab.

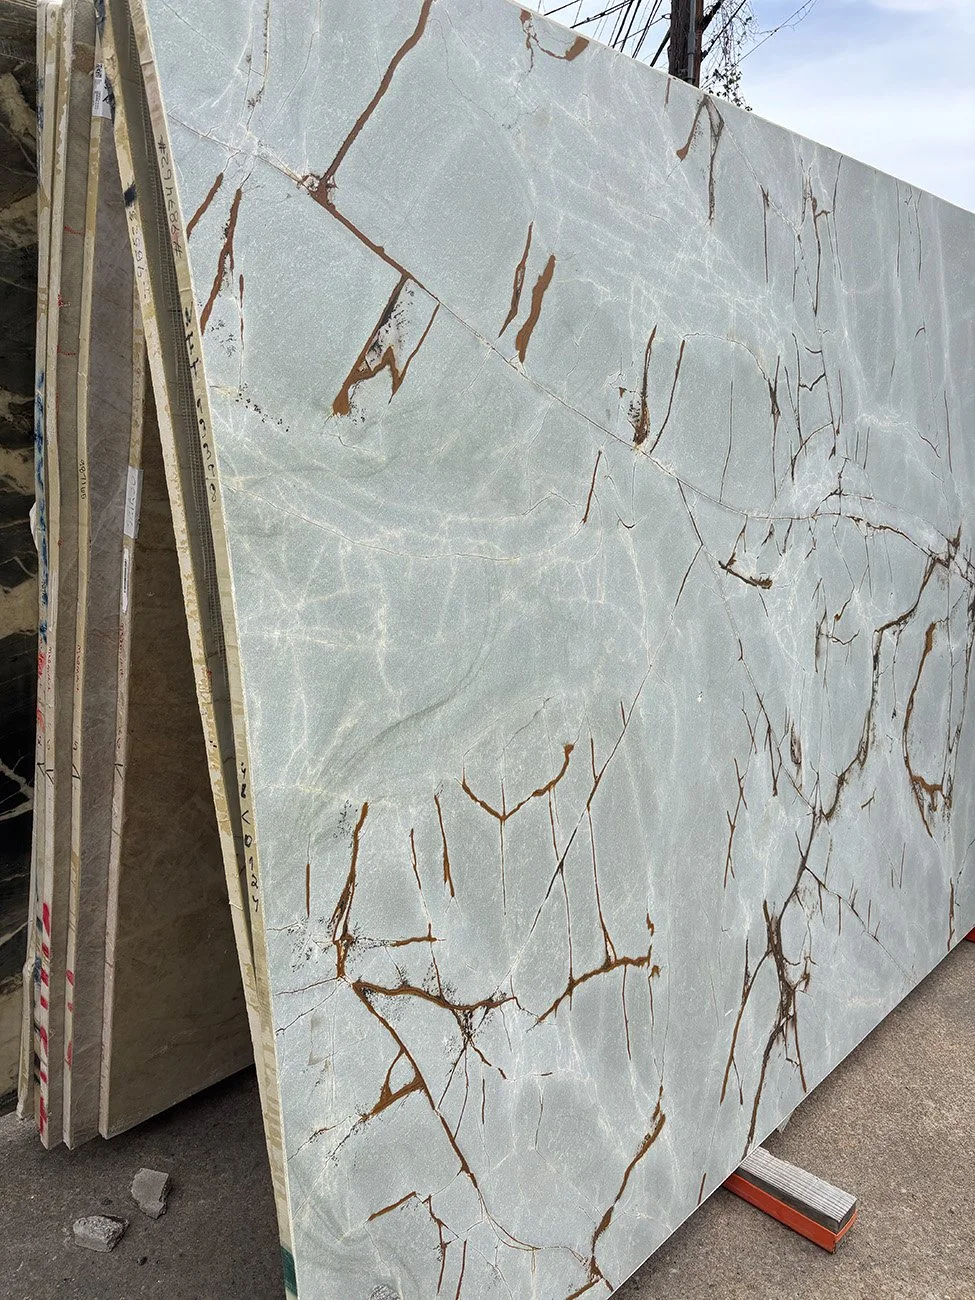
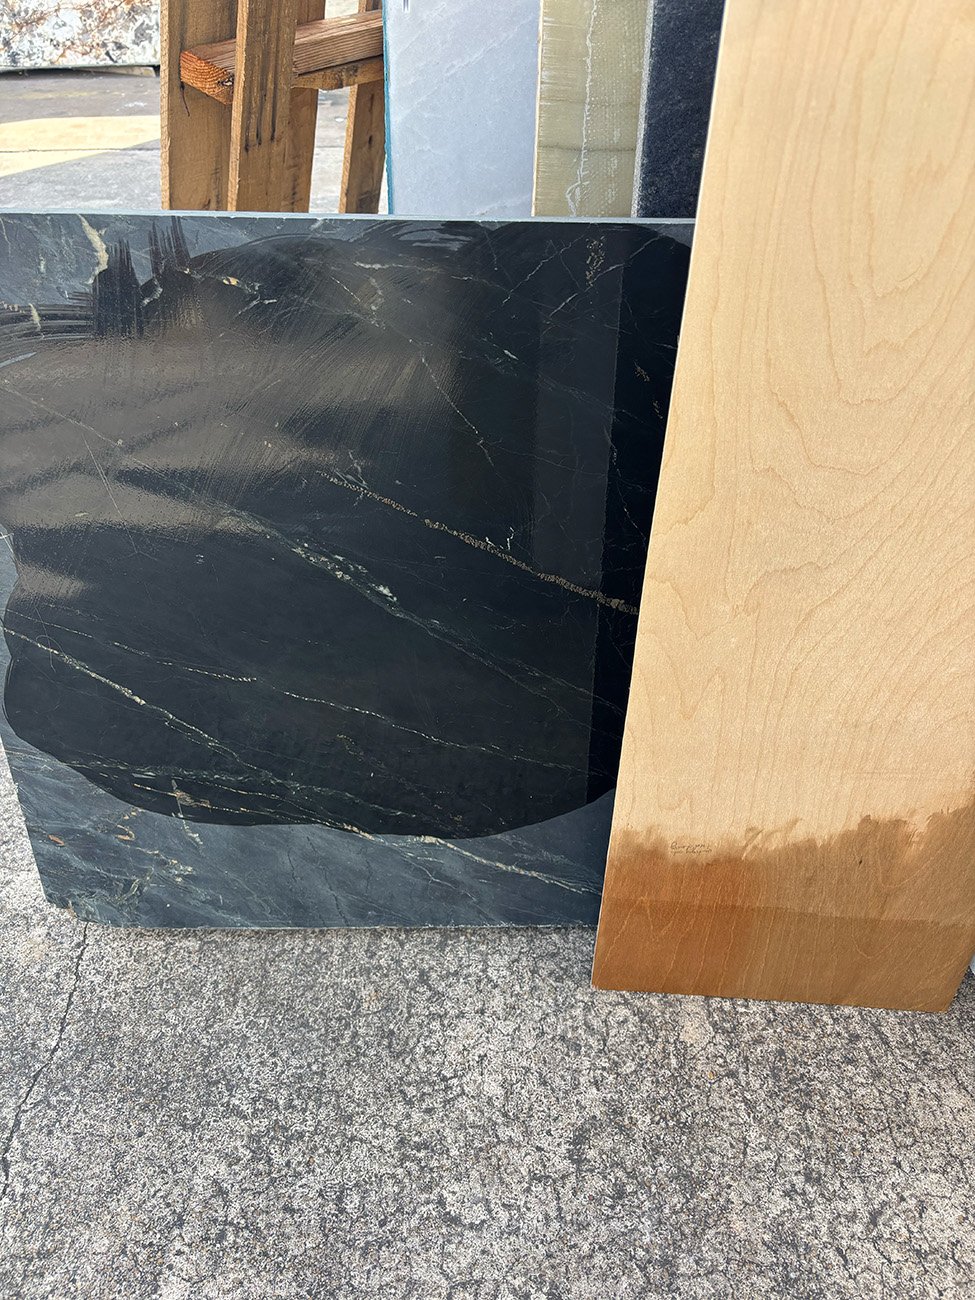
I took the wood stain sample to the granite store to see how the different materials and colors play together.
Last but not least, the two sets of outlets needed to be planned out - where would they be located and which outlets would look best? These prado outlets take an understated backseat to really let the statement slab shine.
Week 9-10: Installation
While cabinets were being built off-site, the electrician came in to move the electric outlets to where we want them to be in the backsplash. I worked with the client to find a good week for install as install usually means noise, dust and paint smells. First step was to set in the cabinets into their spots. Floors and walls rarely are exactly straight, so it usually involves some amount of cutting on site to ensure the best fit. And after a few days of cabinet install, exact measurements could be taken for the stone fabrication and it was time for painting and staining on-site. For this project, the area was tented off and all painting / staining was done on-site to achieve the smoothest finish possible.
Throughout installation, different groups of people will be in and out - carpenters, painters, stone fabricators, and of course me. There usually is about a week’s time between the cabinet finish and the stone inset as the fabricator needs some time to cut the stone to size and make specialty cuts where outlets or sinks are involved.