
Guest Cottage
Our house has a separate guest room, a casita. It’s mostly used one time of the year when Dan’s parents come to stay with us for two weeks, but it’s also nice to have it for a spontaneous friend visit. For the longest time it’s been a white room with a bed and a TV that had a dry bar area with cabinets. Mostly standard things we picked as part of the new home build. Good standard room, but pretty generic builder grade. Having a contained small space is such a great opportunity to go a little bolder and get a little creative. I wanted this space to be immediately cozy and warming for guests. A space you can take a deep breath in and retreat into for some you-time. And thus was the beginning of the Guest Cottage.


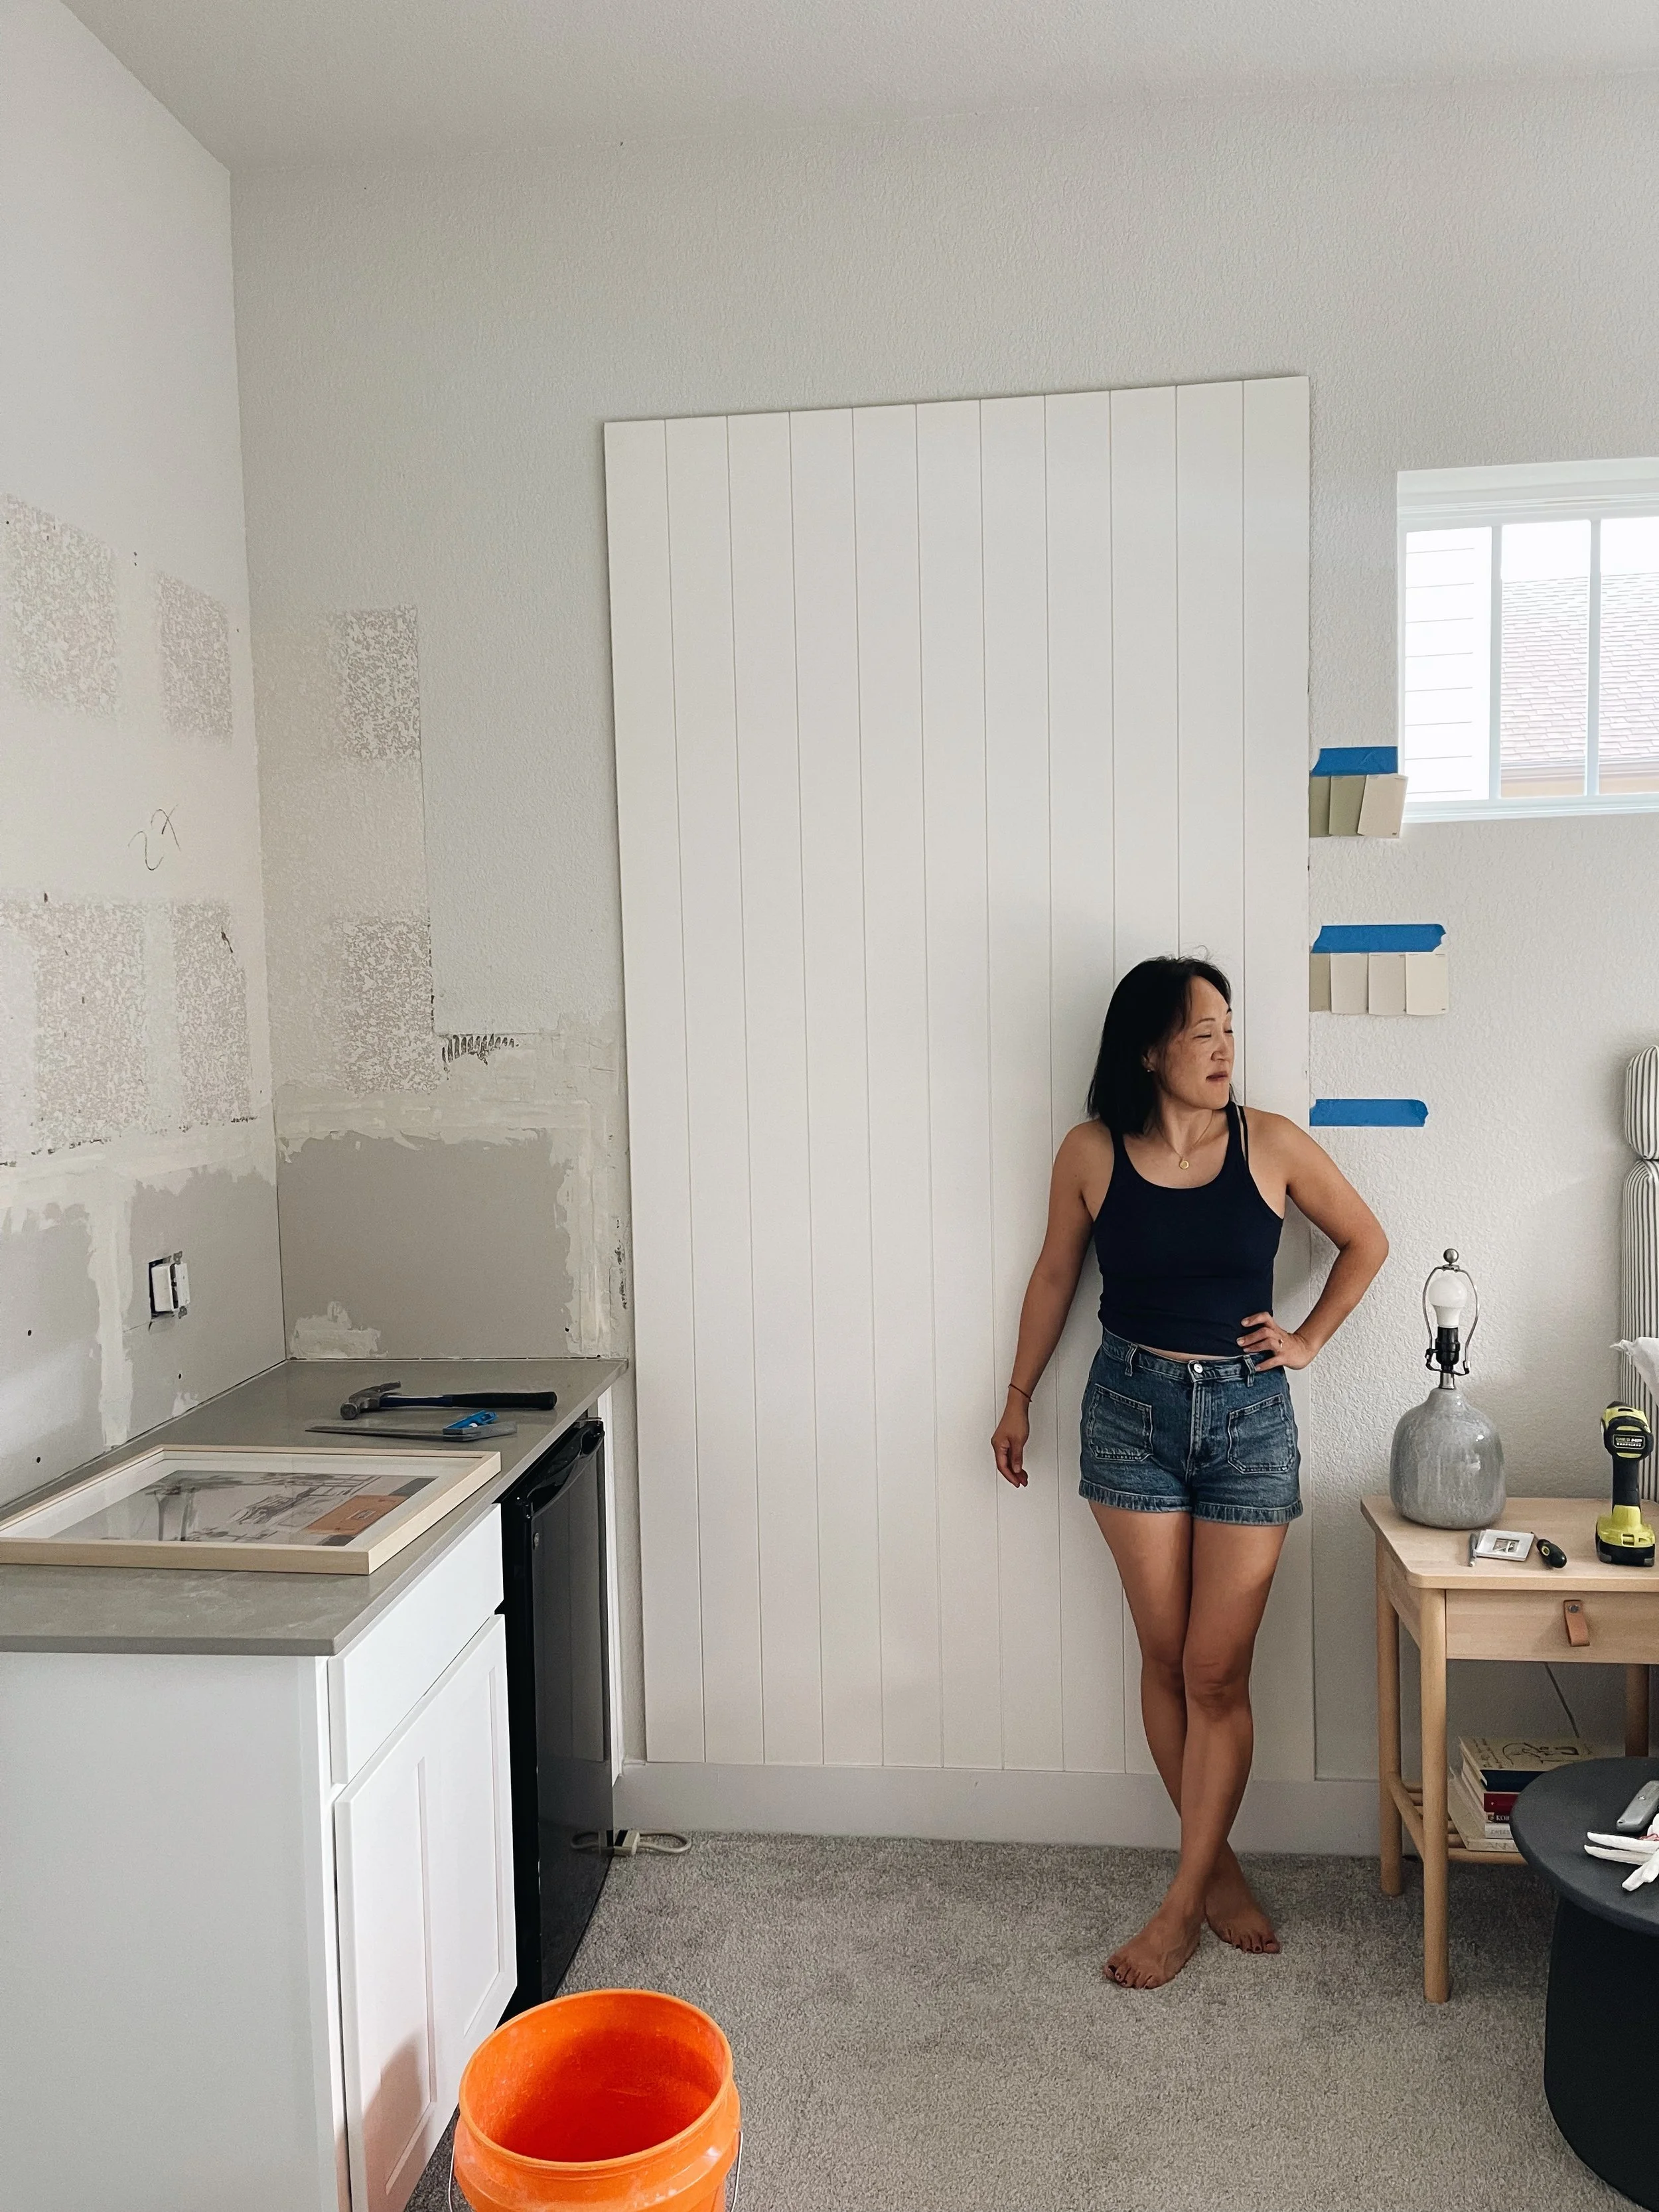
To show you the contrast, this is what the space looked like before.


Nothing bad about this space per se, just nothing special. A white box, if you will.
We re-used as many things as we could. While we ripped out the upper cabinets in this guest cottage, the lower cabinets stayed the same and got some paint. We kept the bed (I had just redone the headboard a few week ago!) and wrapped the frame in batting and fabric. And the night stands also got re-used. Just sanded and stained to fit better into the new color scheme. The chest of drawers that the TV stood on was actually one of our earlier ‘hacks’, an Ikea chest of drawers that got new fronts, hardware and paint. We kept it but moved it into the closet for better storage.
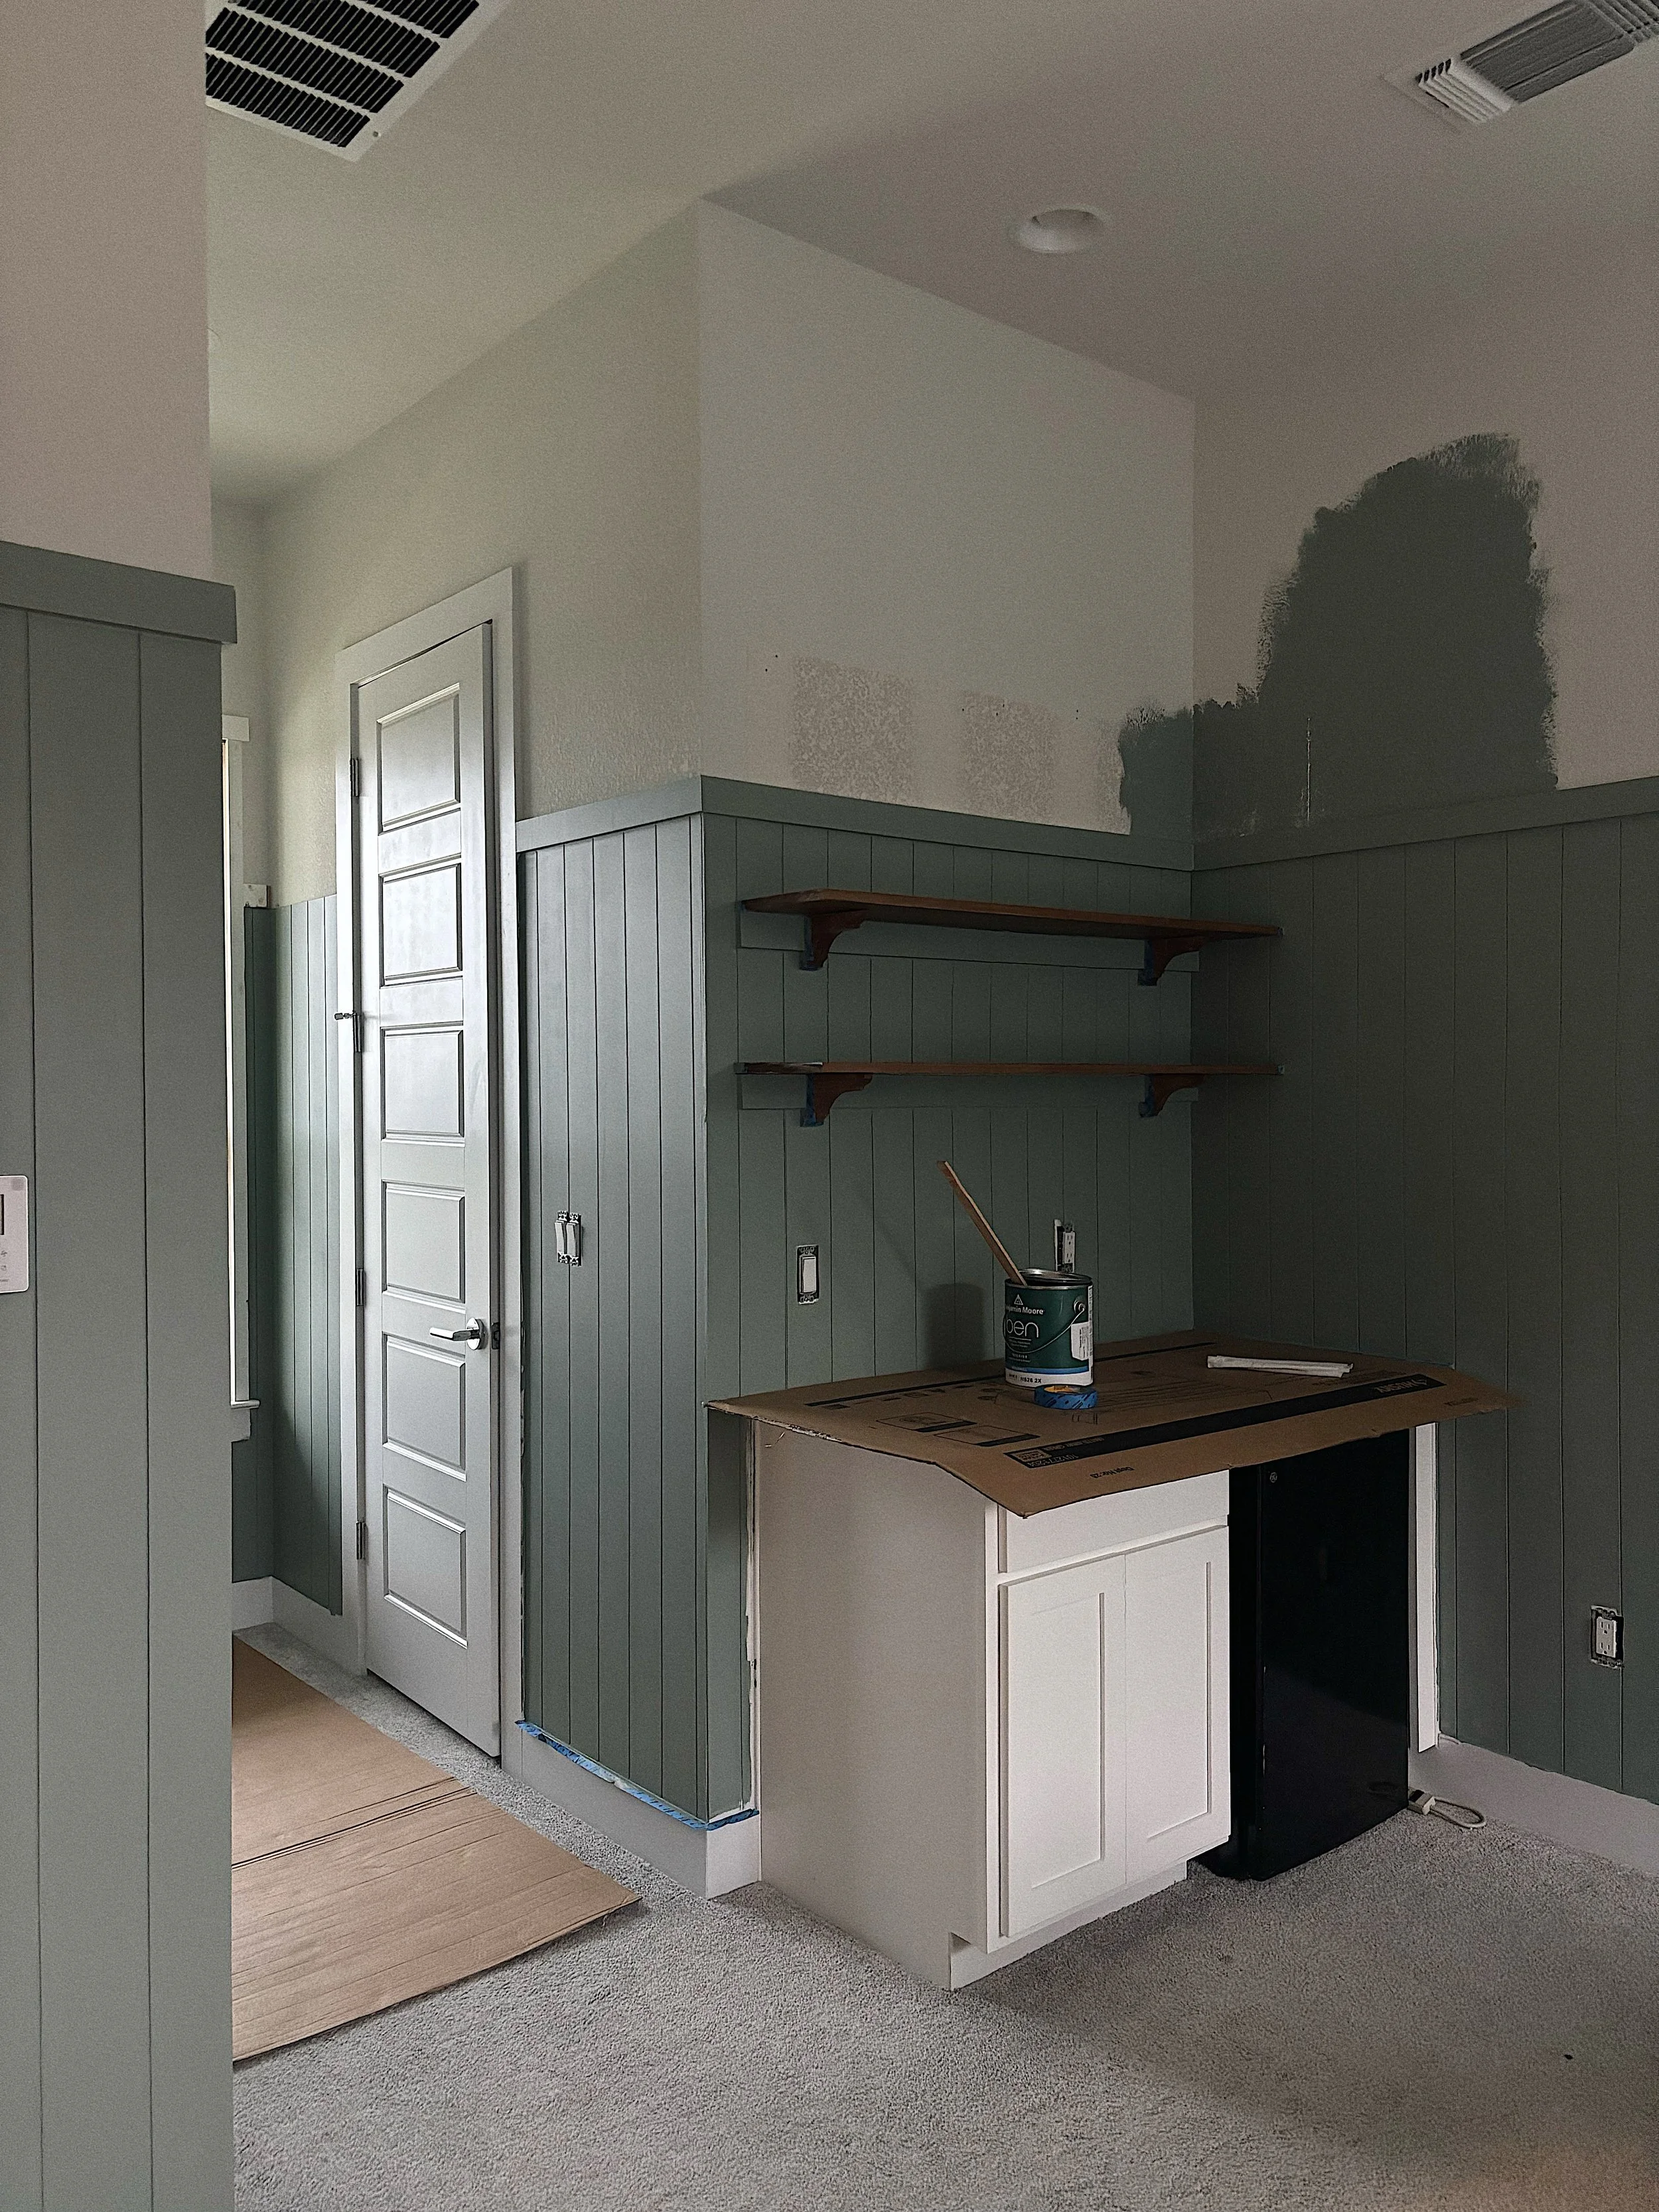
The thing that took the longest was the paint. First - selecting a paint, and second painting every almost every single inch of the room, except of the ceiling. After many trials and errors I settled on ‘Sea Glass’ - eggshell for the walls and shiplap, semi-gloss for all trim, doors and the cabinet.


The paint made a big impact in giving the guest cottage a cozy feel, and it was definitely worth the effort! I’d do it again, if I had to. Though I’ll say that I’m glad it’s done!
You can see in the above picture that we replaced dry wall in the dry bar area. We started to demo the tile, and as it took longer and was tedious than we had expected, we decided to cut out the entire drywall with the tile on it and replace it with new dry wall. In the end this was faster and also less dusty. Less dust is always a win!
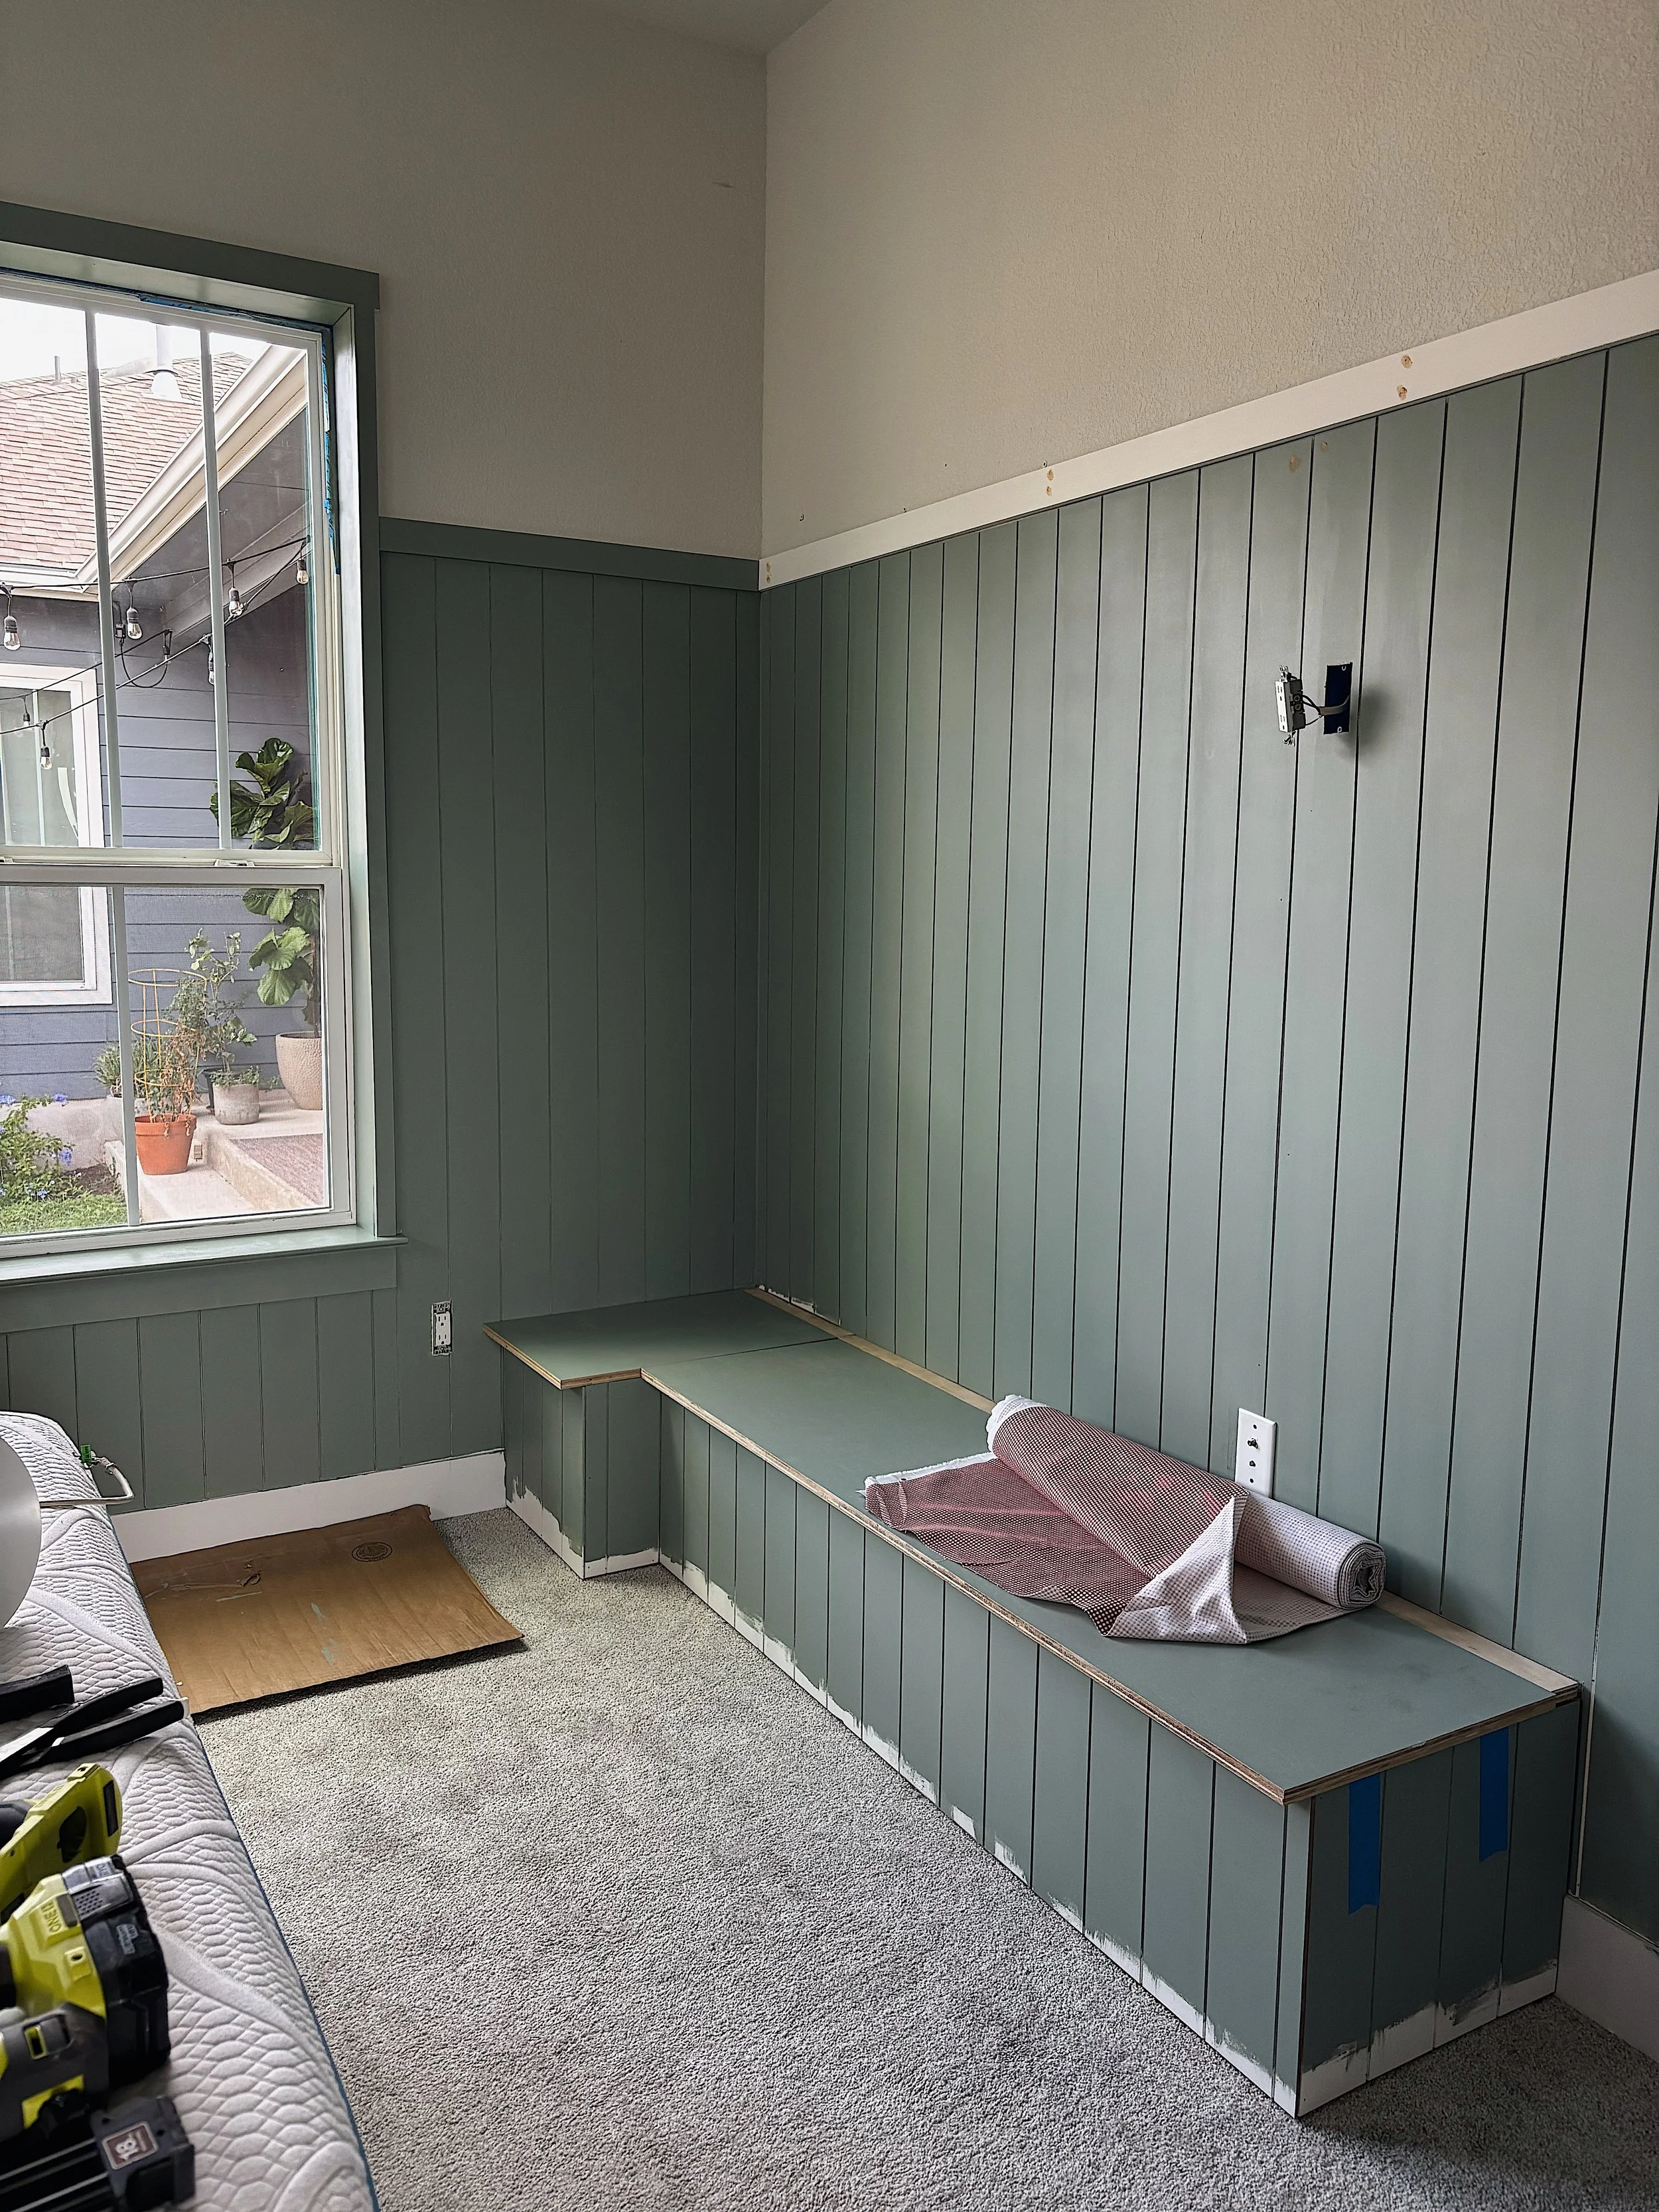
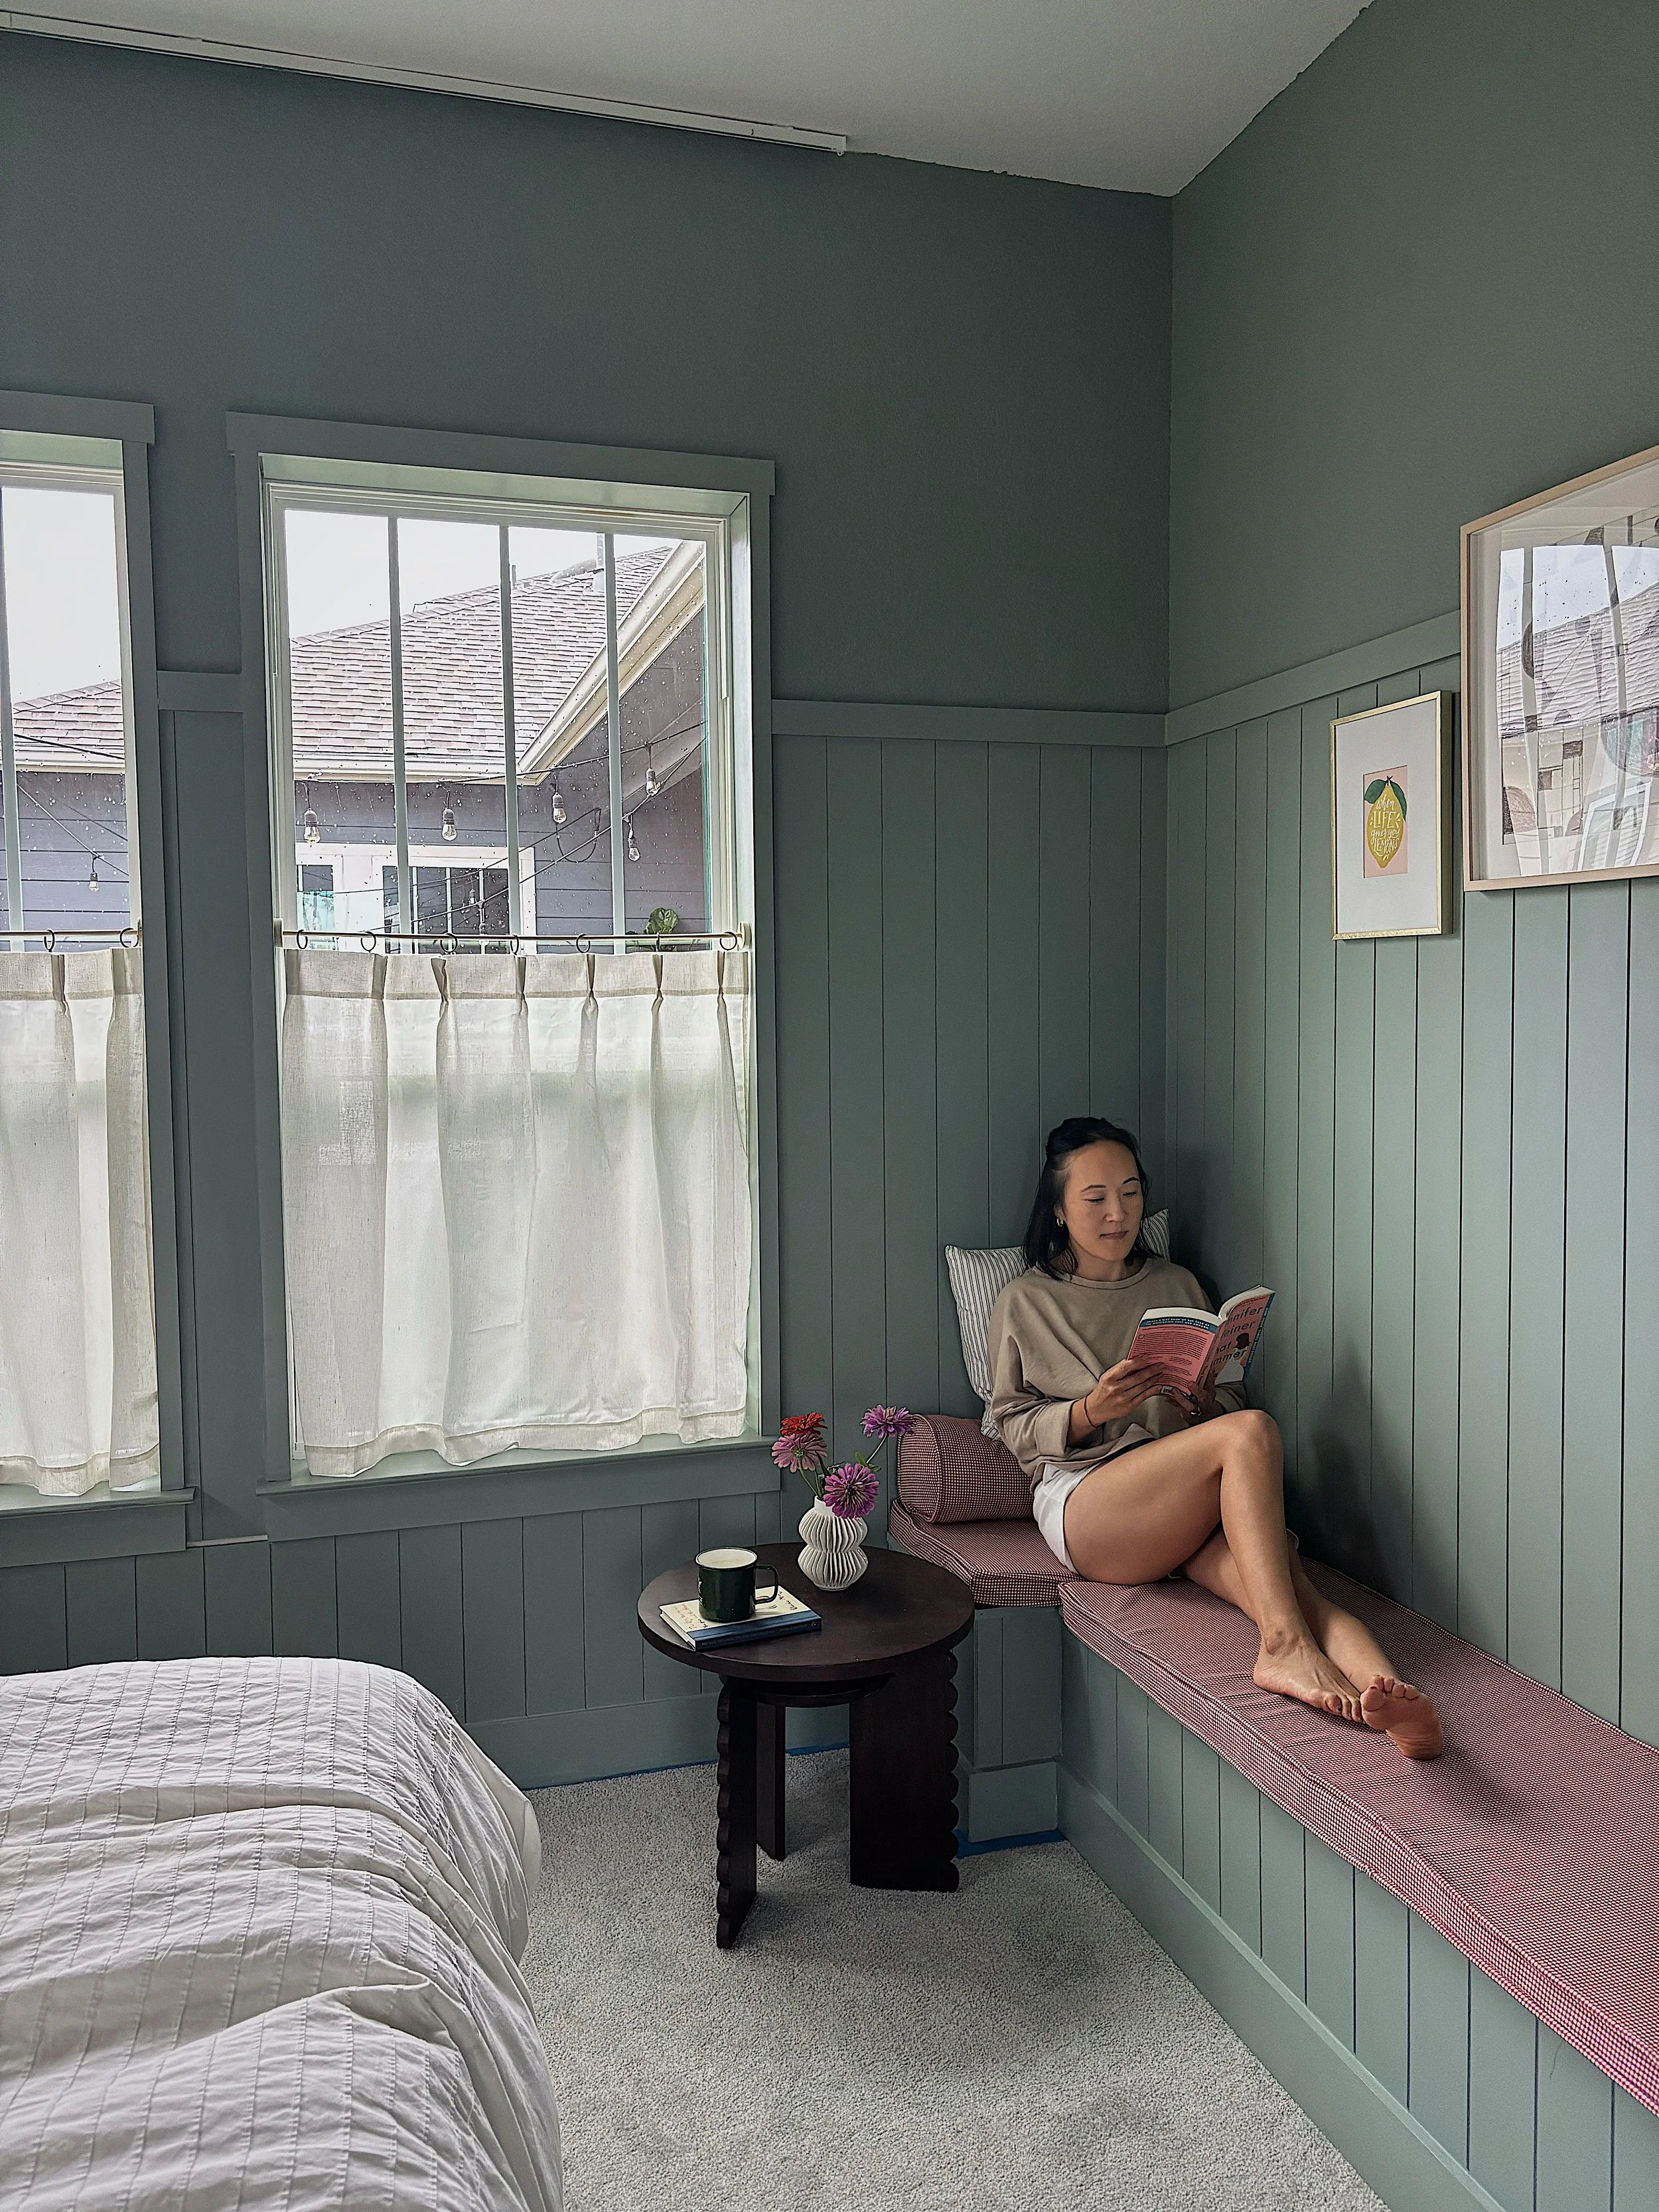
Once we ripped out the upper cabinets, we put up two open shelves in a warm wood stain and added a few hooks. The shelves are pine planks and the brackets are hand-cut out of the same material. Next up, we built a slightly L-shaped bench along the wall and I sewed some cushions for the seat and sides using a whimsical red gingham fabric. We also took some time to trim out the windows with wood. While they always had a window sill, the sides and top were just textured dry wall, and I wanted to give it more of a handcrafted home look. So we hand-crafted a trim.
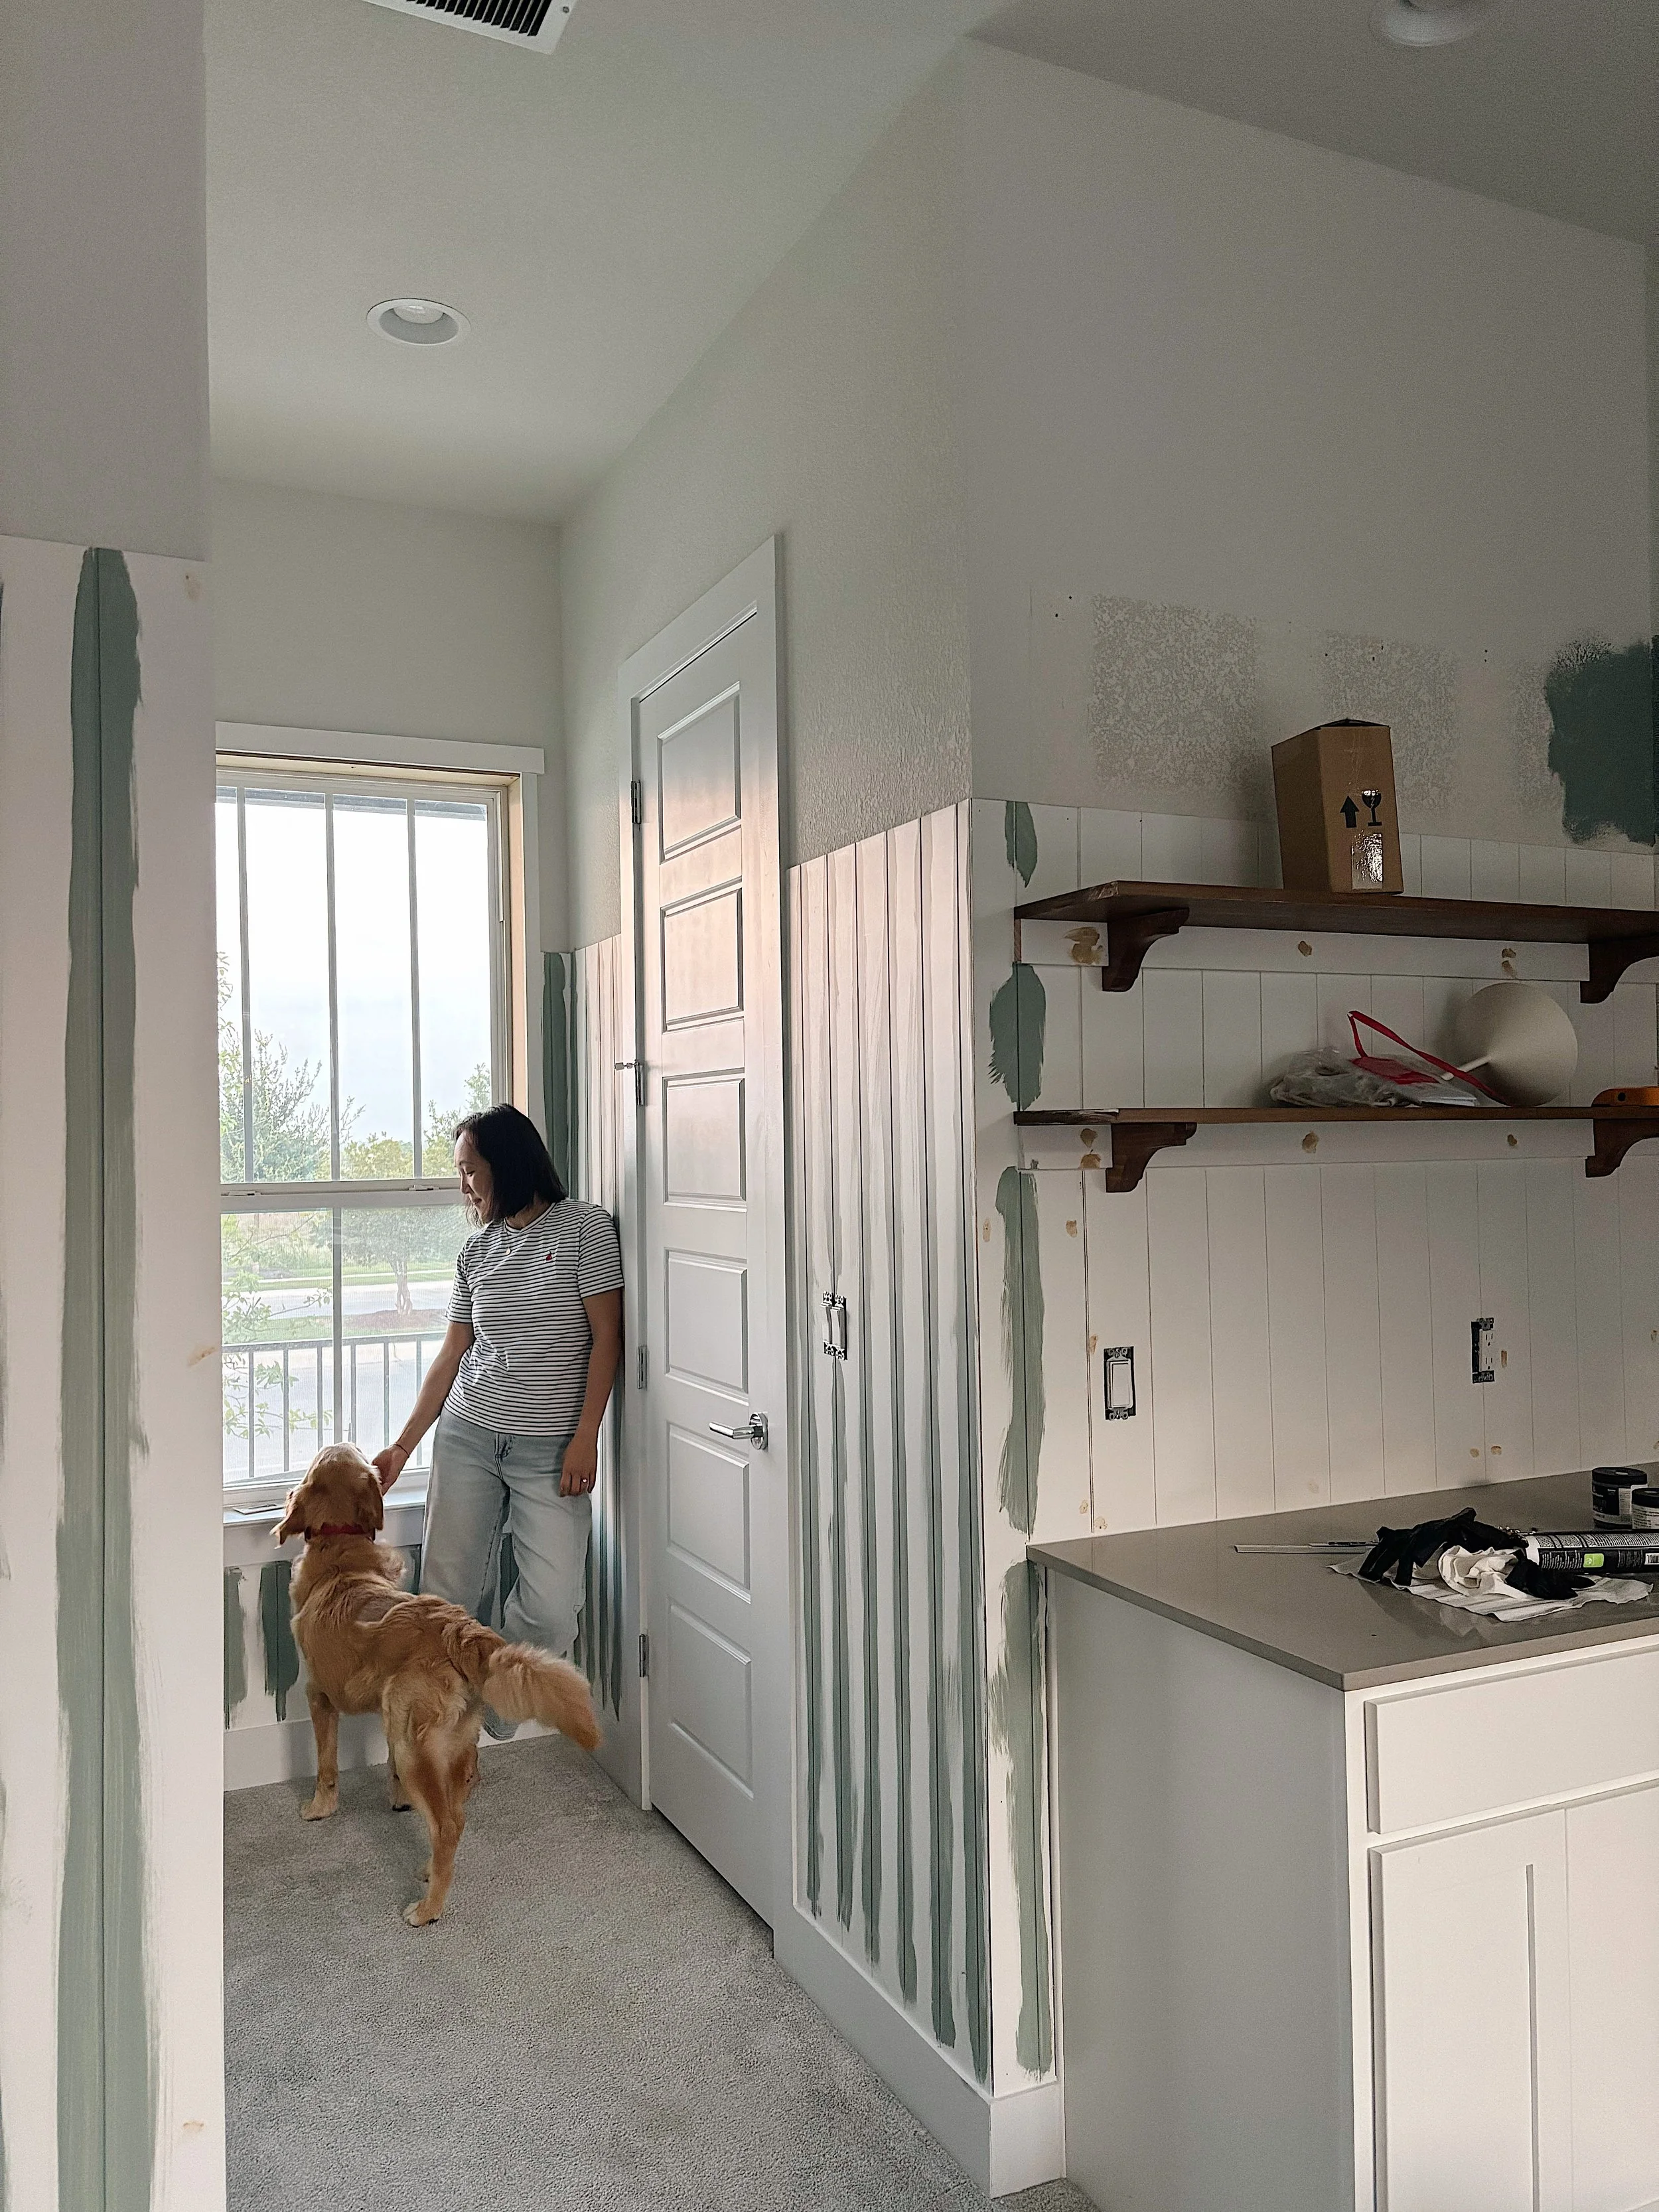

It really was a game-changer to acquire a nail gun, we used it to apply the window trim, the shiplap, the baseboard! The holes are small enough it’s relatively easy to close them with wood filler, give it a quick sand and paint over.
As far as decor goes, I think the biggest impact were the cafe curtains. Since the windows of the guest cottage look onto the main living area and the primary suite, it can feel a little awkward. So to give our guests a little more privacy without blocking off the windows, we added cafe curtains that still let the light come through. We finished this cozy sitting area with a side table that is hand-made as well.
I’m really excited with how this space has come together and was happy to host a friend for a weekend the other day! Exactly what this guest cottage is built for ❤️