
Built in Dining Nook
The kitchen and dining area are the heart of every house. It’s a place that draws friends and family in, and at the same time often doubles as a working area. I don’t know about you, but I like the idea of working in the middle of the house from where I can see everything that’s going on.
When I designed this built-in dining nook, I wanted to create more than just a place to eat; I wanted to craft a space where conversations flow easily, where morning coffee becomes a moment of peace, and where gathering feels natural and intentional. This custom built-in, with its thoughtful storage and warm design, transformed an underutilized corner into the heart of the home.

The full built-in nook is comprised of a bench with storage and an upholstered seat, a cabinet with drawers for storage and a hutch. All the fixtures are unpolished brass, and I included a brass railing on the shelves for a little extra feel of whimsy and sophistication. The goal was to create space for family to come together while also providing storage for things like laptops and kids toys.
The original thought was to also attach glass racks under the shelves so the hutch could be used as a bar area, but ultimately it made more sense to use it for display. Plus, with the brass railing, there is already a lot going on visually on the shelves.
The built and installation of this built in dining nook altogether took a little over five weeks, and I have taken a good amount of learnings from this project. For example - I will not paint again without a paint gun. Two layers of primer and two to three coats of paint, all with sanding in between and all done manually, took a lot longer than I had anticipated and also gave my wrist a good workout.


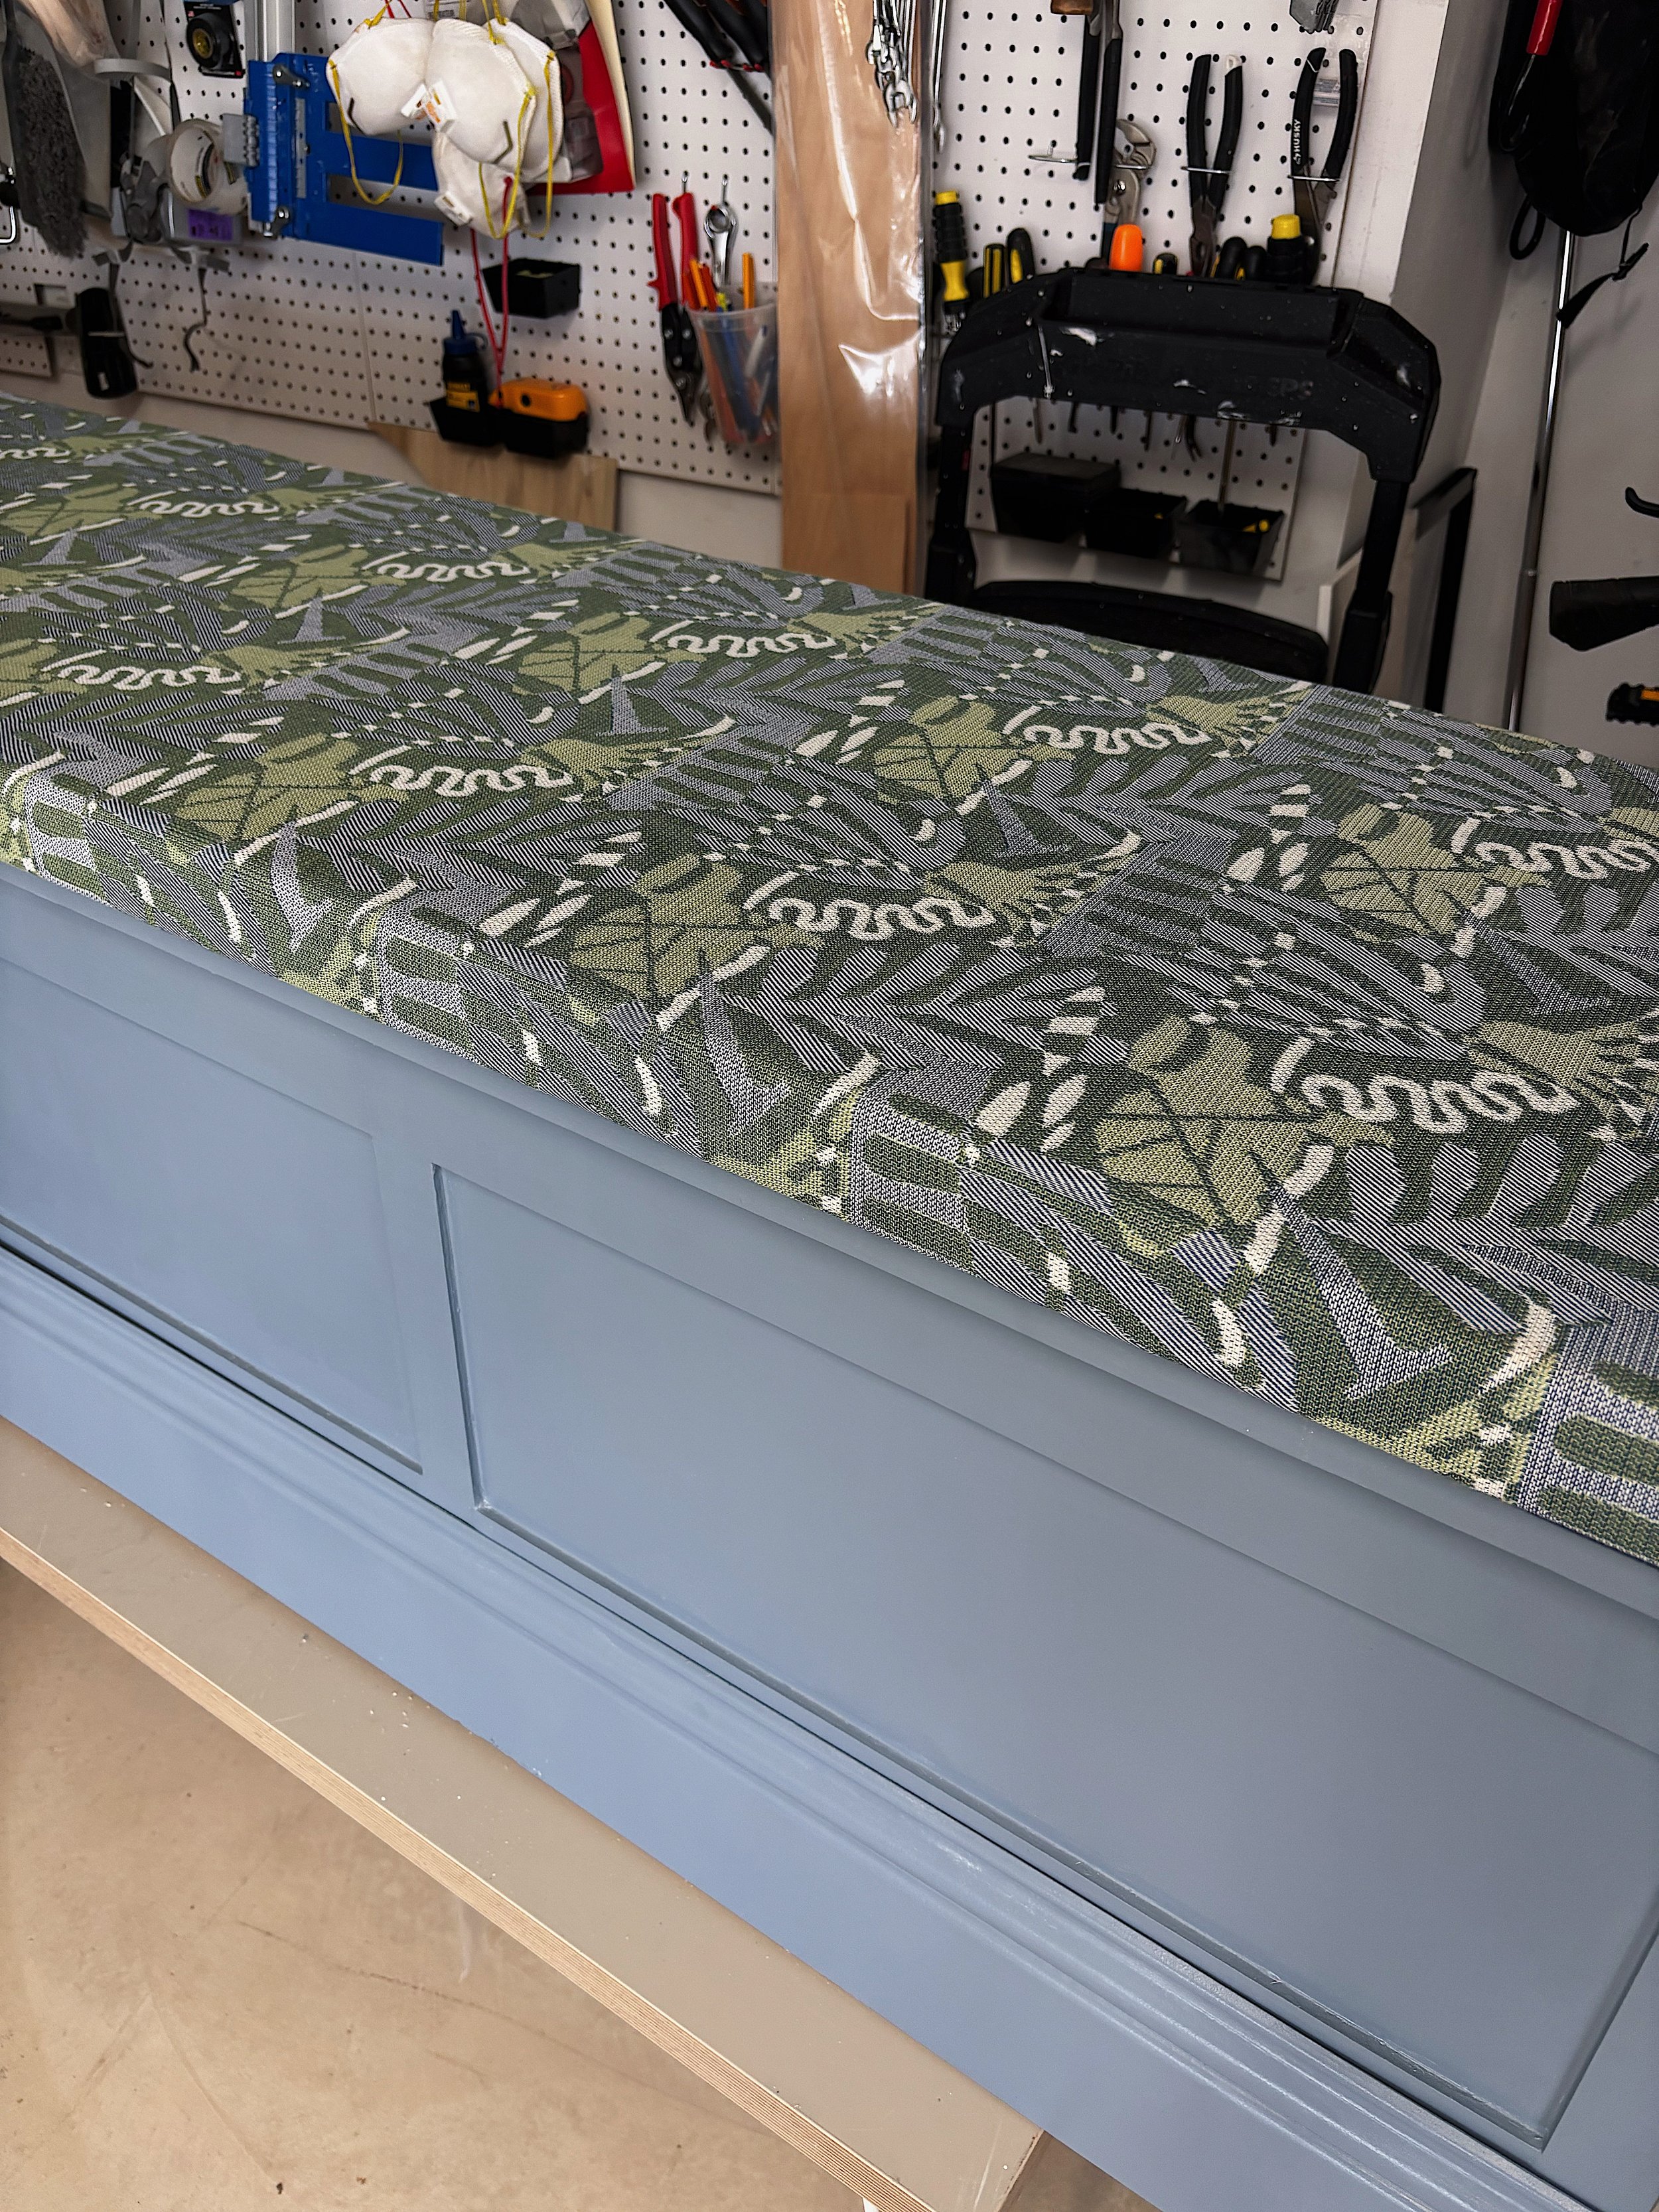
This is the sketch that I went into the build with, a design that would maximize the awkward and relatively small space between the wall and the patio doors. For the color selection, I started with a classic blue color - a little toned down but still vibrant enough to draw attention - and then found this wonderful fabric with an organic pattern. When picking fabric for seat cushions, I like to use pattern that will be a little forgiving, especially when used in a dining area! Hello spills!
Cabinet Built
I started with two cabinet carcasses made of 3/4” birch plywood. This is the base structure for the dual drawer cabinet. It carries the weight and holds the structure together. Once that was done, I started building out drawers out of 1/2” birch plywood. I wanted the drawers to sit flush with the face frame, so I made sure that the drawer carcass sat flush with the cabinet carcass before putting a ‘face’ on both the drawer and the cabinet carcass. The top drawers are a little more shallow than the bottom two drawers giving enough space to store smaller things like laptops, pens and other knick knacks.


For the drawers, I used these undermount soft-close drawer slides , paired with these locking devices (be mindful, you need one left and one right piece each). And I found beautiful brass hardware at Pepe & Carols.


I was originally planning to use pocket hole screws to attach the face frame to the cabinet and ended up using wood glue only. It created a strong enough bond, and there won’t be much weight on the face frame. For the face of the drawers, I used wood glue and also additional screws from the inside. For a smooth surface finish, I used MDF.
The Bench


The bench is almost 6 ft long to seat family. The hinge opens to the top and reveals three distinct compartments for storage. The base is built from 3/4” plywood, and I applied some batten for visual interest. I found the matching baseboard to what’s already in the dining room, and painted it in the same color of the bench to wrap around it for a more built-in seamless look. The seat cushion is made from 2” foam covered in durable upholstery fabric.
The Hutch


Since the ceilings were pretty high, the hutch was almost 6’ high. It started with a plywood frame with support in the back to keep the shape. It also helps for the install later, as I will use the horizontal supports and secure them to the wall. The horizontal supports will be hidden by shiplap backing later. I tested out the height of the hutch by putting it on top of the drawer cabinets. Thankfully the garage was just high enough to accommodate this built. Thanks to blue tape, I was able to mark up where the arch would go and where I could place the shelves. Same as the drawer fronts of the cabinet, I made the front of the hutch of MDF for a smooth finish. I have found that the easiest way to make a smooth arch cut is to use a router but I have seen people mark it up and use a jigsaw. My hand isn’t steady enough to do that, so the router method serves me just fine!


At this point I am already well into four weeks of build and it’s time to get ready for install! Honestly, this was my second biggest learning - install is a lot more work than I anticipated! You’d think ‘well, you put the furniture into its place’. But it’s so much more than that. It includes cutting out existing baseboard, leveling the furniture pieces to the floor and the wall (both of which aren’t always as even or straight as you’d think!), securing pieces to the wall, adding new baseboards and trim. Caulking, painting the caulk, touching up any scruff marks from install. And then doing the math gymnastics in the brain to cut and install crown molding. All that said, install took a little over two days, and also included a change of color. While the shiplap behind the bench was originally the same color as the shiplap inside the hutch, it didn’t look quite right once installed. So I repainted it in the blue of the furniture for a more balanced look.


Overall, a very worthwhile project! Involved, yes. But also rewarding- yes, yes yes!! I love how it creates an anchor point and a gathering point in daily life, and though a lot of sweat and tears went into it, the end result and reward is absolutely worth it. So I would do it over again! Only with a spray painter next time!
The end result is pretty close to the original sketch, the only difference that I didn’t pull up the hutch all the way to the ceiling and I didn’t end up installing the under shelf wine glass rack.


